The MoveData Authorised User
MoveData requires a Salesforce user account to create, update, and match records in your organisation. This user is called the MoveData Authorised User. Every notification that MoveData processes runs under this user's credentials, so choosing the right account and configuring it correctly is essential.
This article explains how to select an appropriate user, which licences and profiles are supported, and how to authorise or revoke access.
Before you begin#
- You need Salesforce permissions to assign permission sets and authorise MoveData. We recommend using a system administrator account for this, as it typically has access to the majority of objects and automation in Salesforce.
- MoveData must already be installed. See Installing MoveData if you have not yet completed this step.
Choosing a user account#
You have two options for the MoveData Authorised User.
Option 1: Dedicated MoveData user (recommended)#
Create a Salesforce user account specifically for MoveData. This is the most secure and traceable approach because all records created by MoveData are clearly attributed to a single service account.
Benefits:
- Audit trail is clear -- you can see exactly which records MoveData created or updated.
- No disruption if a team member leaves your organisation.
- Easier to troubleshoot permission issues.
The trade-off is that a dedicated user requires its own Salesforce licence.
Option 2: Shared user#
Use an existing Salesforce user account to authorise MoveData. This avoids the cost of an additional Salesforce licence but makes it harder to distinguish MoveData activity from manual changes in your audit trail.
Success
If budget allows, a dedicated user is always the better choice. It avoids confusion in reporting and protects MoveData's access if the shared user's password changes or the account is deactivated.
Salesforce profiles and licences#
The MoveData Authorised User typically holds a full Salesforce licence. The profile you assign determines what MoveData can access in your organisation.
System administrator profile and licence#
This is the simplest option and the one most organisations use. A system administrator has full access to all objects and fields, so MoveData can process notifications without encountering permission errors.
This approach requires the least ongoing maintenance.
Standard Salesforce user profile and licence#
Larger organisations that follow the principle of least privilege may prefer to assign a standard Salesforce user profile. If you take this approach, you need to create a custom profile (or use permission sets) that grants MoveData access to all the objects and fields it writes to.
Note
If you use a non-administrator profile, you are responsible for ensuring the user has access to every object and field that MoveData needs. Missing permissions cause notification failures.
Salesforce Integration user licence#
You can use a free Salesforce Integration licence for the MoveData Authorised User. This avoids consuming a paid Salesforce seat but requires additional manual configuration.
This option suits organisations comfortable with configuring Salesforce permissions and maintaining a custom permission set alongside the packaged MoveData permission sets.
For the full setup walkthrough, see Using a Salesforce Integration User Licence.
Permission sets#
MoveData includes managed permission sets that grant the minimum permissions required for the core app and each extension.
| Permission set | Purpose |
|---|---|
| MoveData Application | Core app access -- required for all MoveData users |
| NPSP Fundraising & Donations | Access to NPSP extension objects and fields |
| NPSP Commerce | Access to NPSP commerce extension objects and fields |
| Nonprofit Cloud | Access to Nonprofit Cloud extension objects and fields |
Assign the MoveData Application permission set to the Authorised User, plus any extension permission sets that match your installed extensions.
Warning
MoveData permission sets cover only the objects and fields in the managed packages. If your extension flows write to additional custom fields or objects, you must grant those permissions separately through your Salesforce profile or additional permission sets.
For more detail on permission sets, see Permission sets.
Authorising MoveData#
MoveData is authorised during the initial setup wizard. Log in as the user you want MoveData to run under, then complete the OAuth authorisation step.
For the full step-by-step process, see Running the setup wizard — Authorise MoveData.
Note
You must be logged in as the user you want to authorise. If you are logged in as a different user, MoveData authorises that user instead.
Revoking access#
If you need to remove MoveData's access to a user account -- for example, before changing to a different Authorised User -- follow these steps.
- Note the name of the currently authorised user. You can find this in MoveData > Settings > General > Authorise MoveData.
- Go to Setup > Users.
- Click the authorised user's name to open their user record.
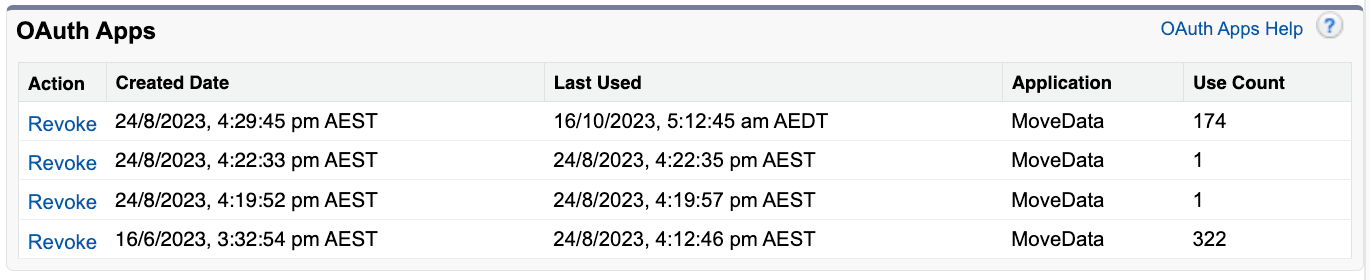
- Scroll down to the OAuth Connected Apps section.
- Find the MoveData entry and click Revoke.
After revoking access, all future notifications will fail with an error similar to the following:
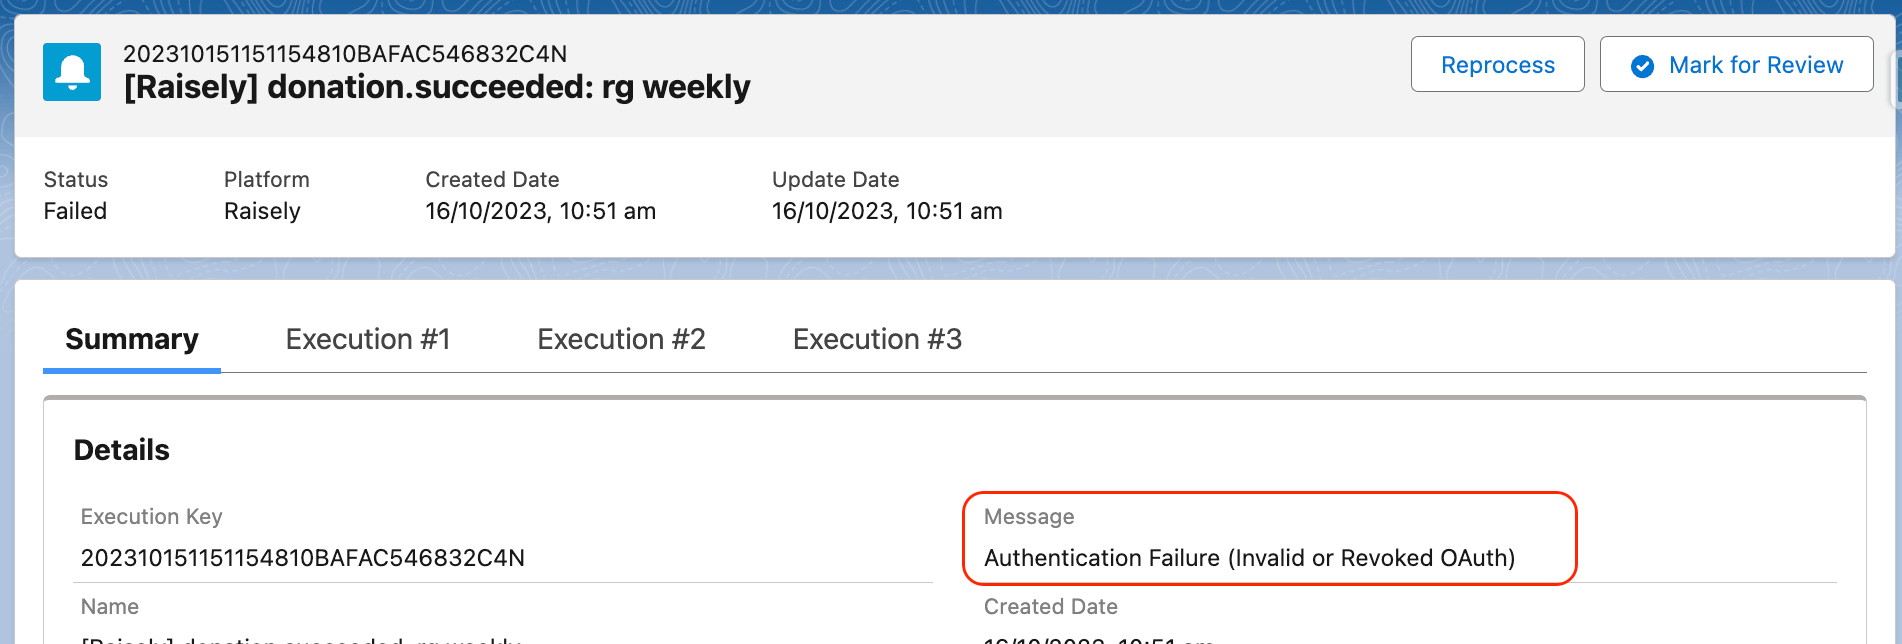
Warning
After you revoke access, all future notifications will fail until you authorise a new user. Revoke access only when you are ready to re-authorise immediately.
To authorise a different user, see Change the Authorised User.
Common configuration#
The most common setup is:
- A dedicated Salesforce user with the System Administrator profile.
- The MoveData Application permission set assigned.
- Any relevant extension permission sets assigned.
This combination provides full access with clear audit traceability and minimal maintenance.
Troubleshooting#
Notifications are failing with permission errors
Check that the Authorised User's profile grants access to all objects and fields that MoveData writes to. If you use extension flows that write to custom fields, those fields must also be accessible. Assign additional permission sets or update the user's profile as needed.
I authorised the wrong user
Revoke access from the incorrect user (see Revoking access above), then follow the authorisation steps while logged in as the correct user. For a detailed walkthrough, see Change the Authorised User.
The Authorise button does not appear
Confirm that you have the MoveData Application permission set assigned to your user. Also check that you are on the Settings tab > General sub-tab.