Running the setup wizard
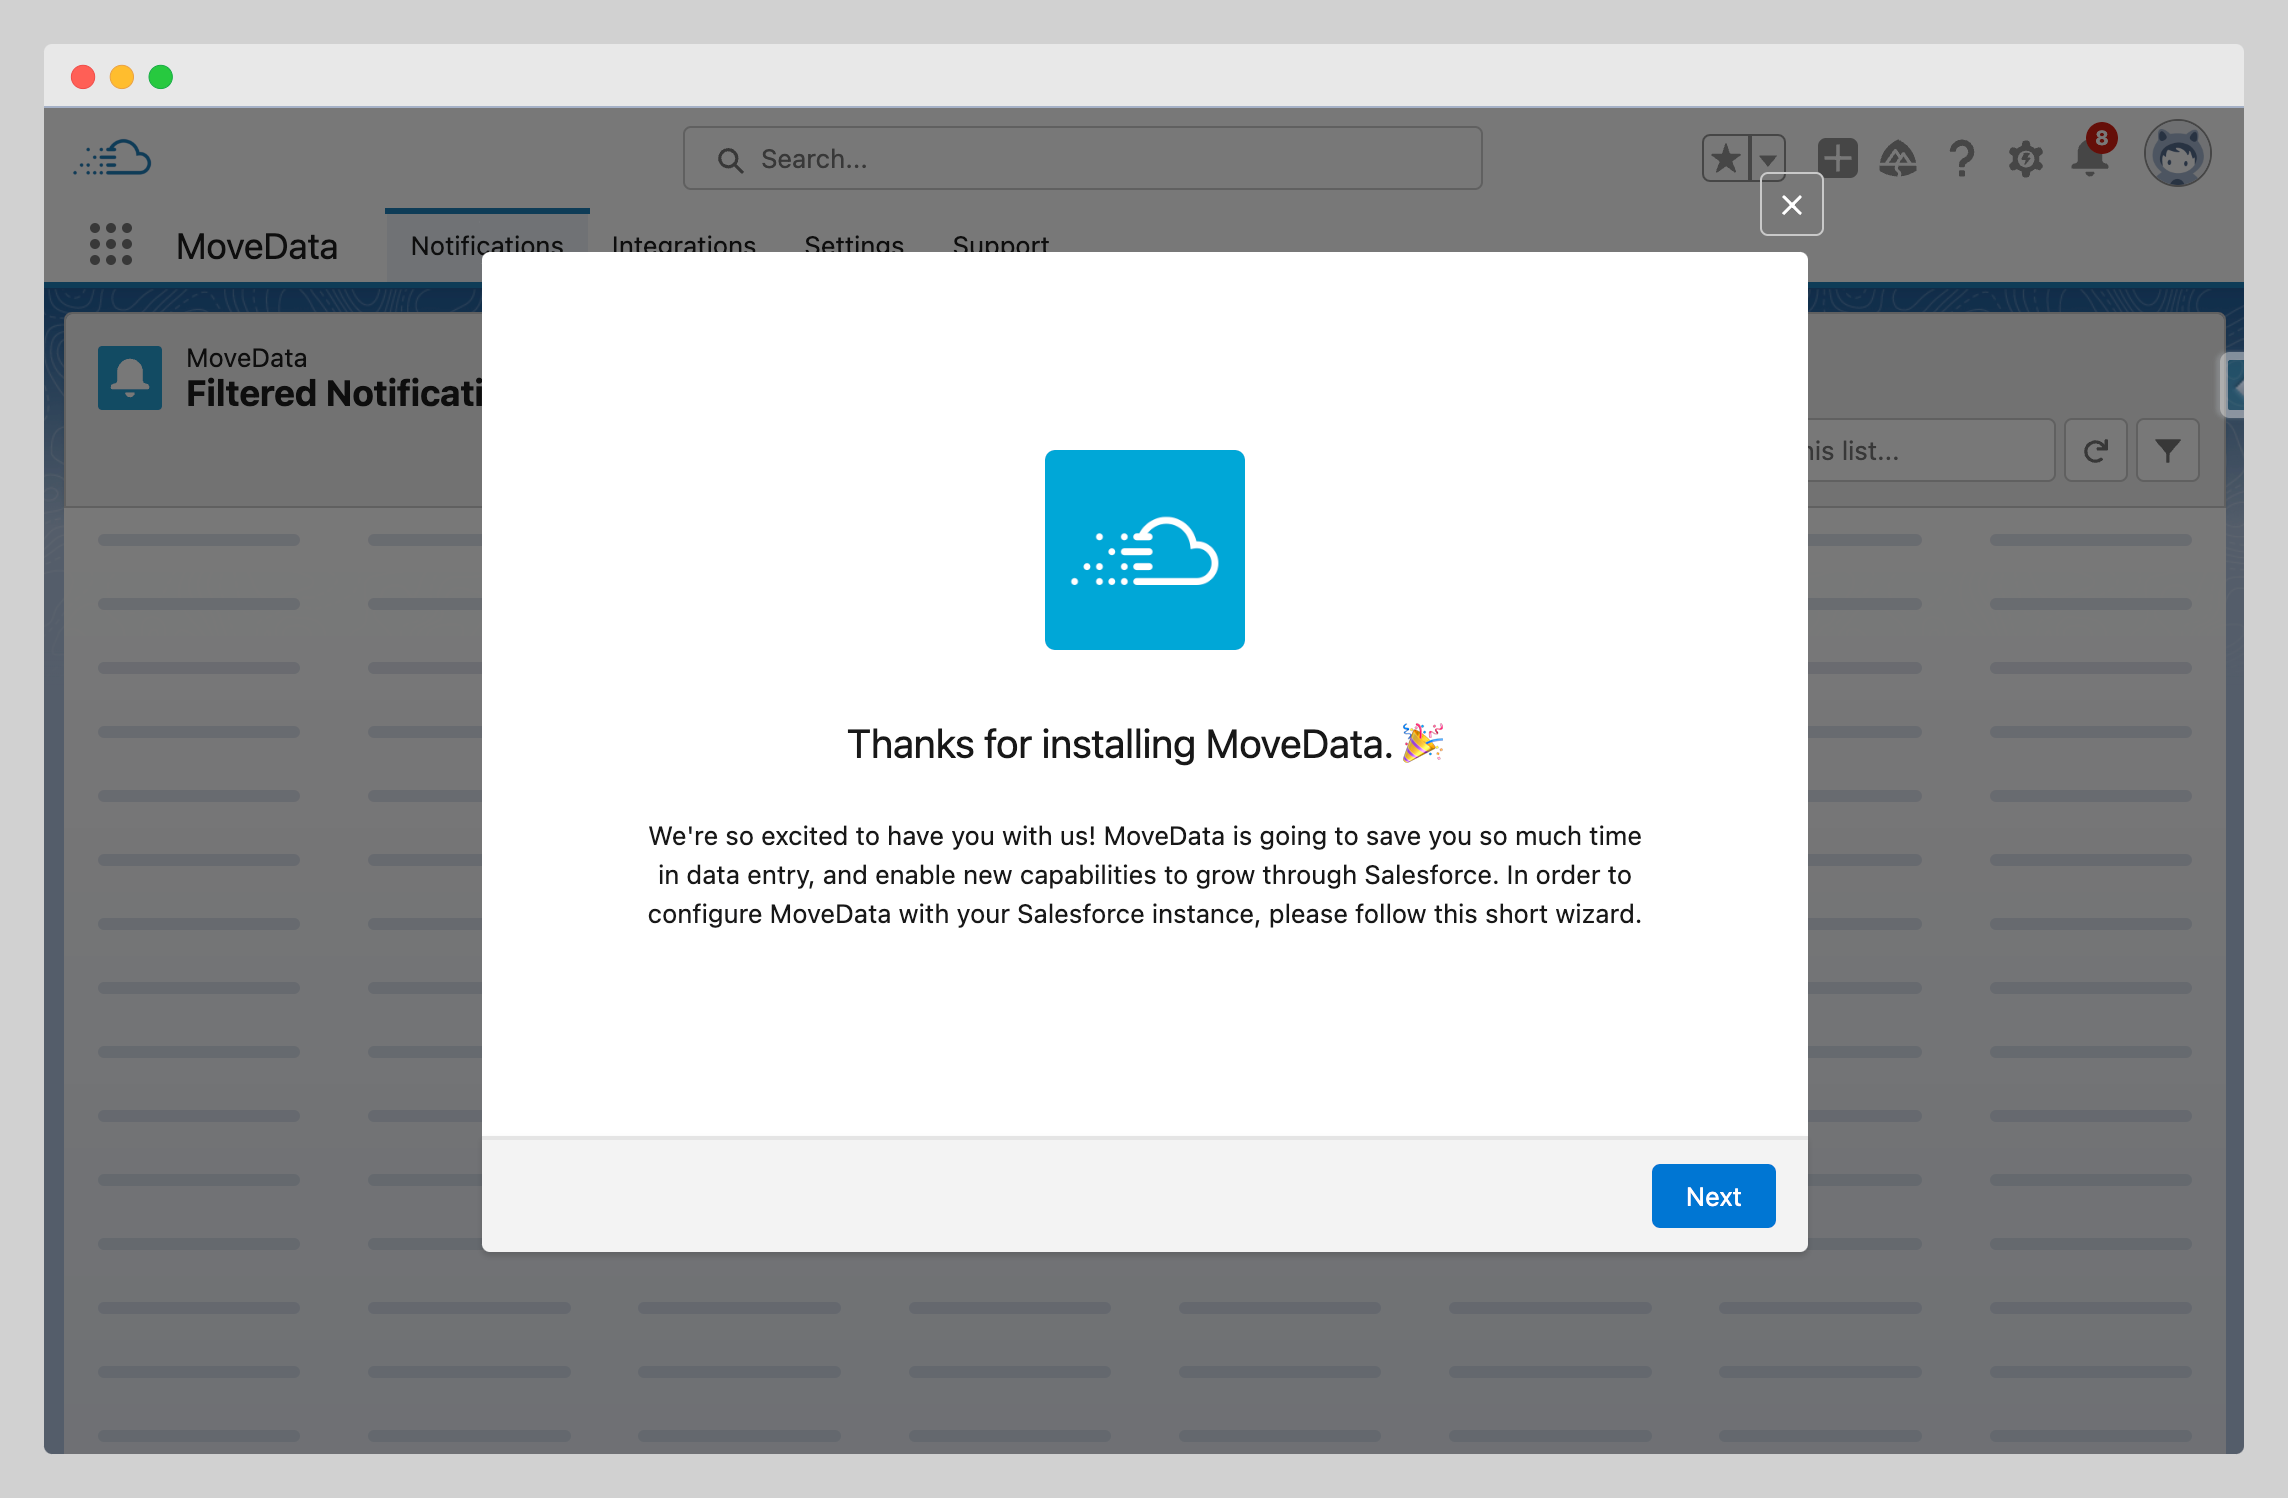
After installing MoveData, the setup wizard guides you through initial configuration. The wizard connects MoveData to your Salesforce organisation and installs the extensions you need. The entire process takes roughly 10 to 15 minutes.
Before you begin#
- MoveData must be installed in your Salesforce organisation.
- You need Salesforce system administrator permissions to complete the wizard.
Step 1: Launch MoveData#
- Open the App Launcher and search for MoveData.
- Click MoveData to open the application.
The setup wizard launches automatically the first time you open MoveData.
Step 2: Automatic configuration#
MoveData runs an automatic configuration process to prepare your organisation. This step takes 2 to 3 minutes to complete.
During this step, MoveData configures:
- Permission sets for MoveData access
- Custom settings with default values
- Data model objects and relationships
- Secure connection protocols

Warning
Do not close your browser or navigate away during automatic configuration. Interrupting this process may require you to restart the wizard.
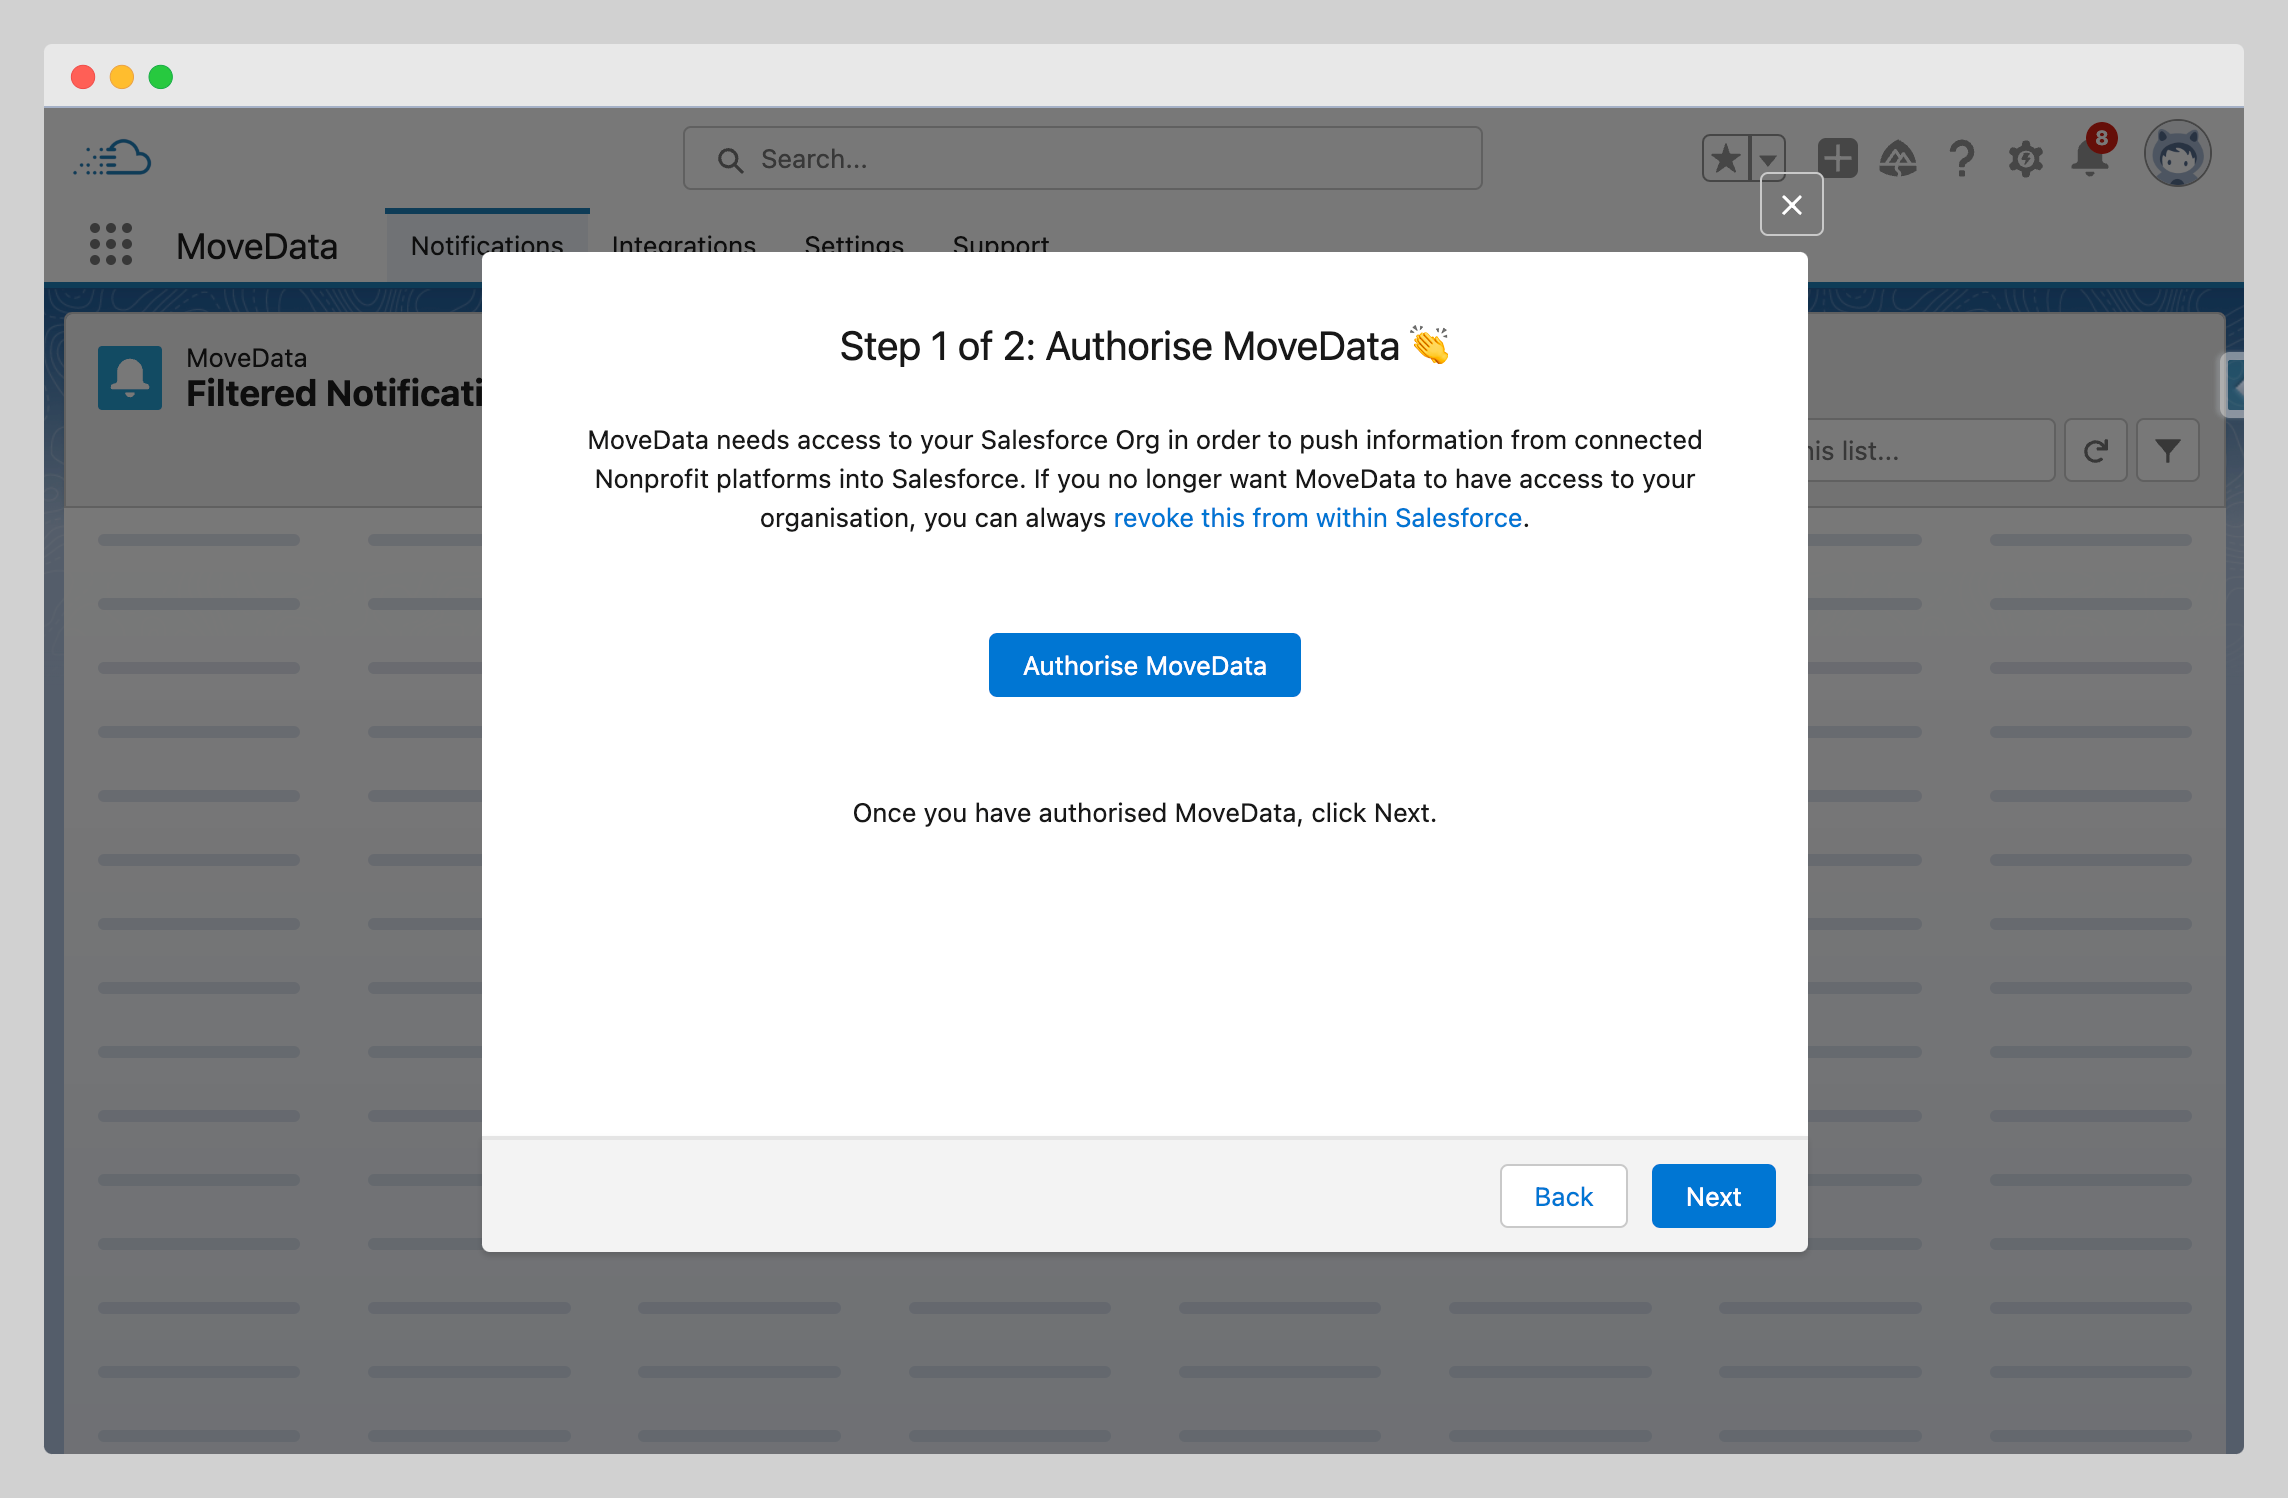
Step 3: Authorise MoveData#
MoveData needs permission to create and update records in your Salesforce organisation.
- Click Authorise MoveData.
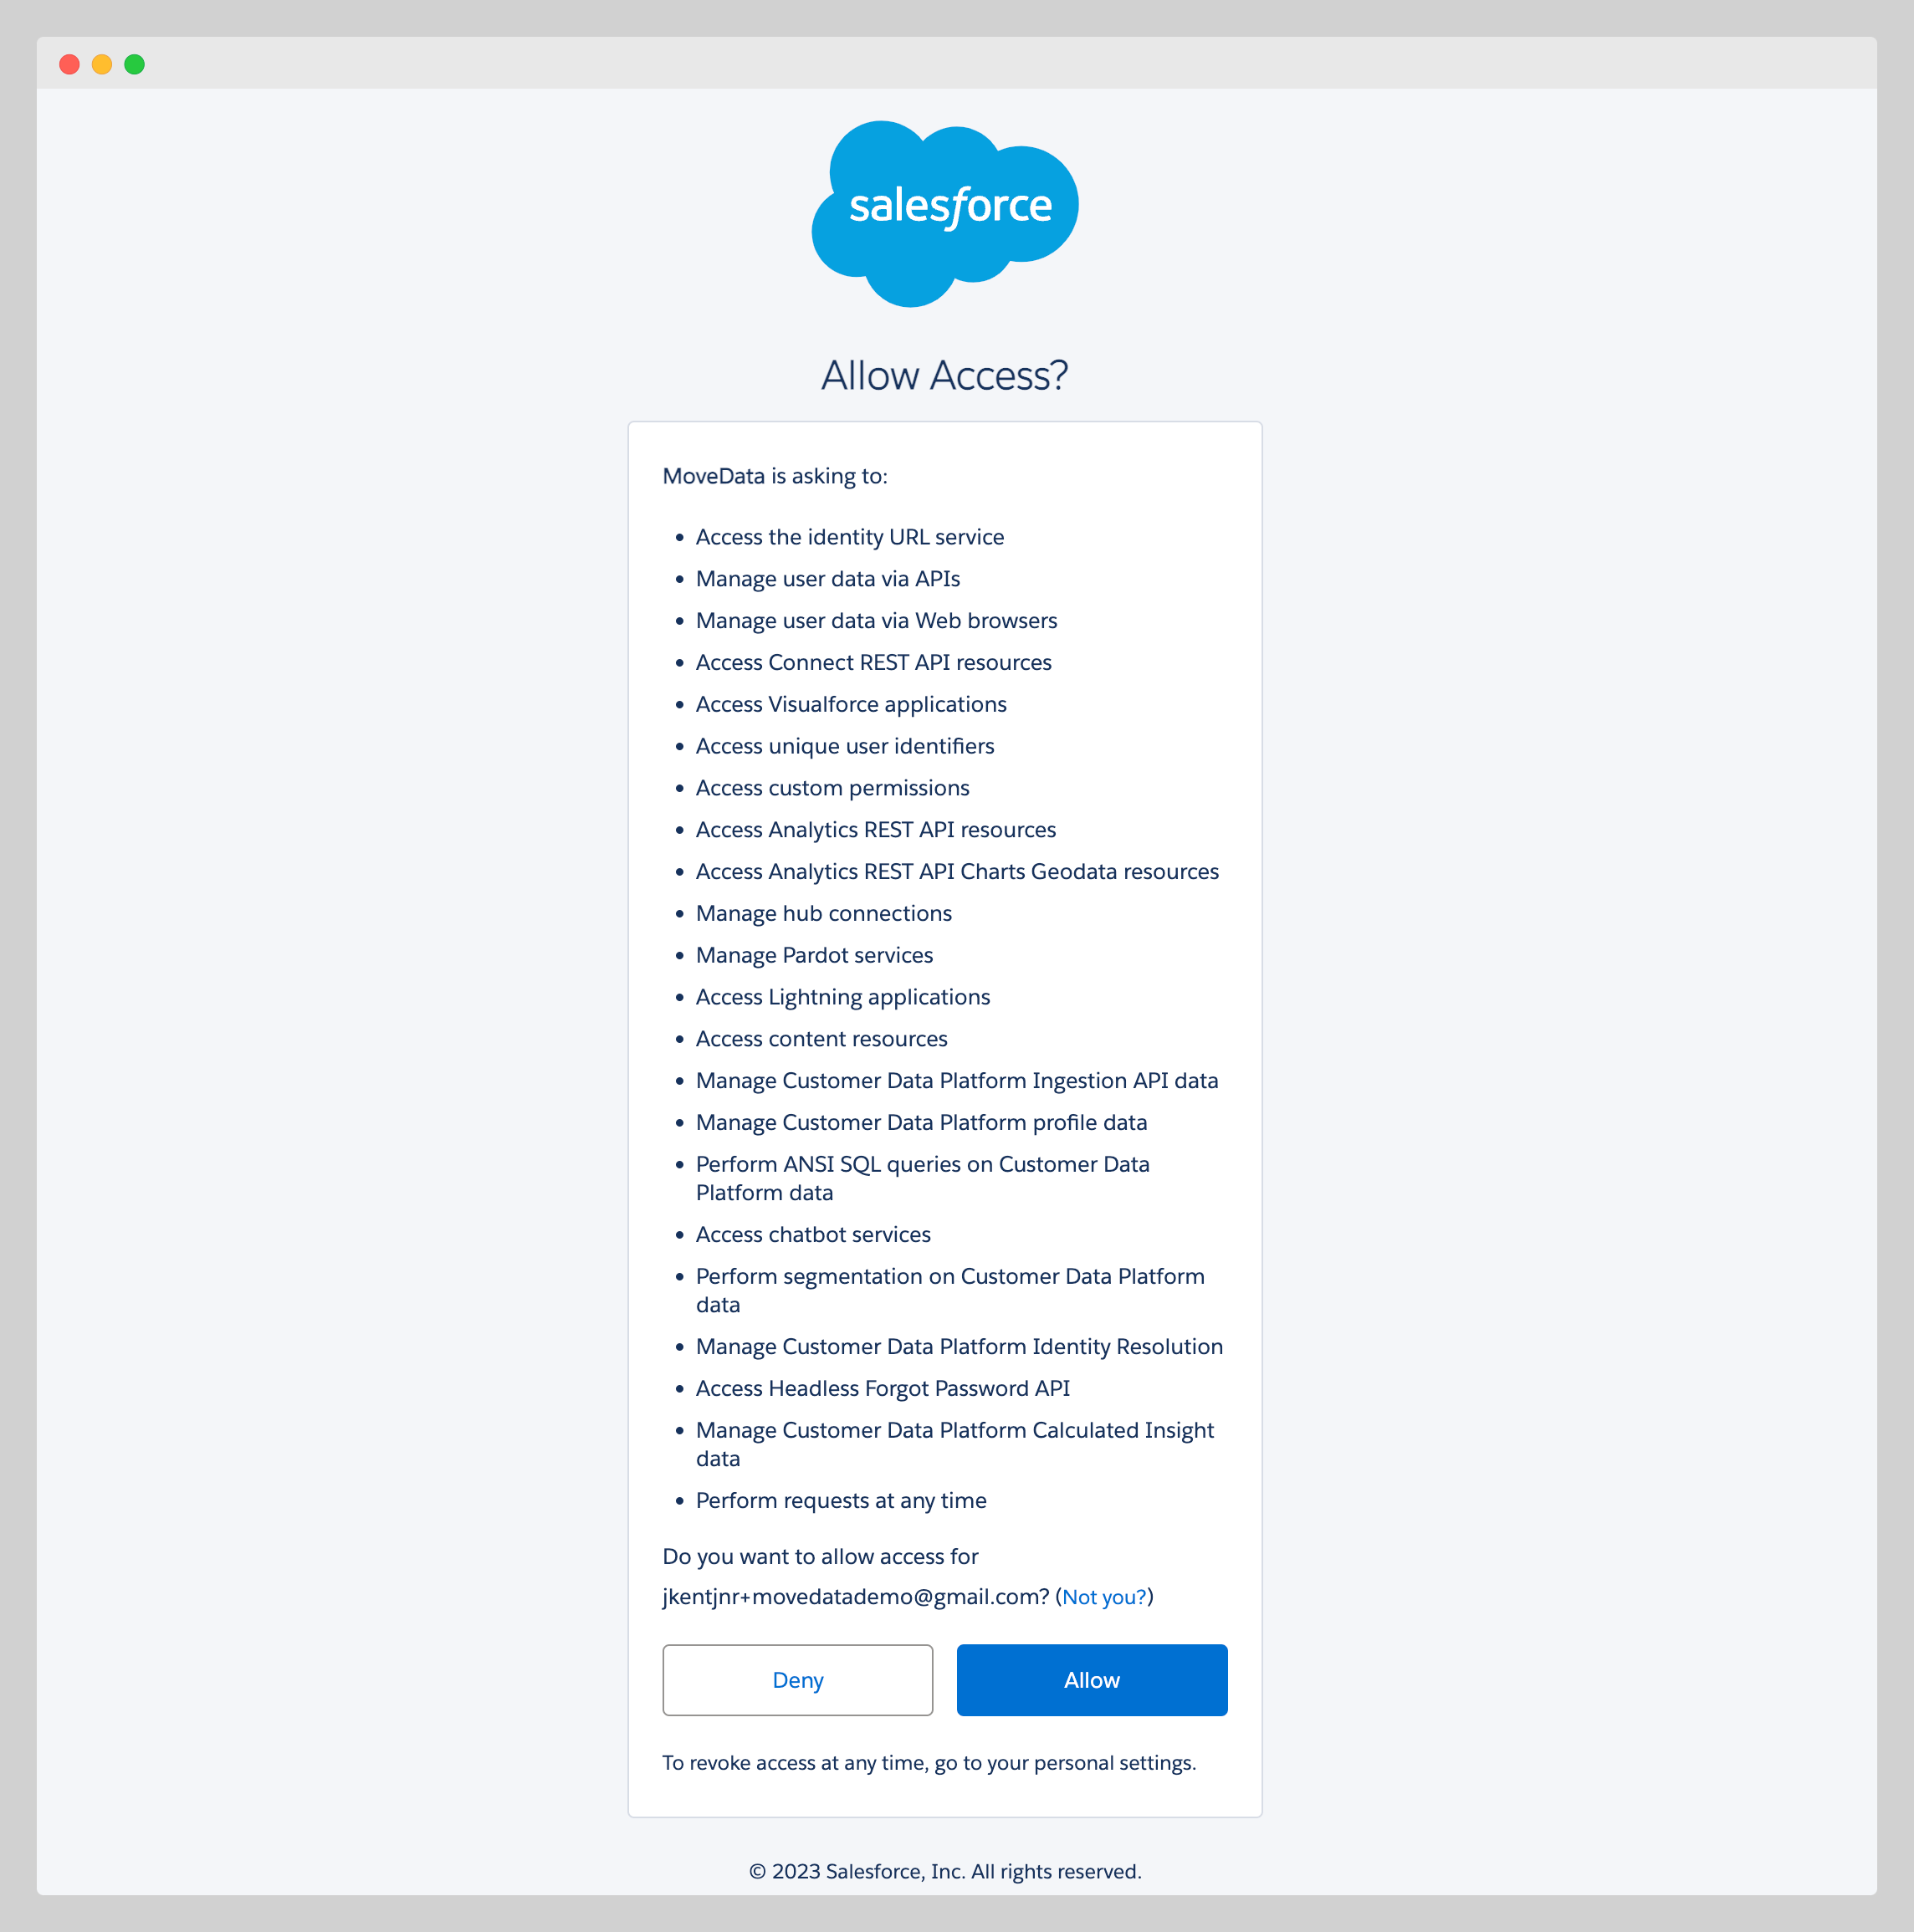
- A Salesforce OAuth popup appears listing the permissions MoveData requires.
- Review the permissions and click Allow.
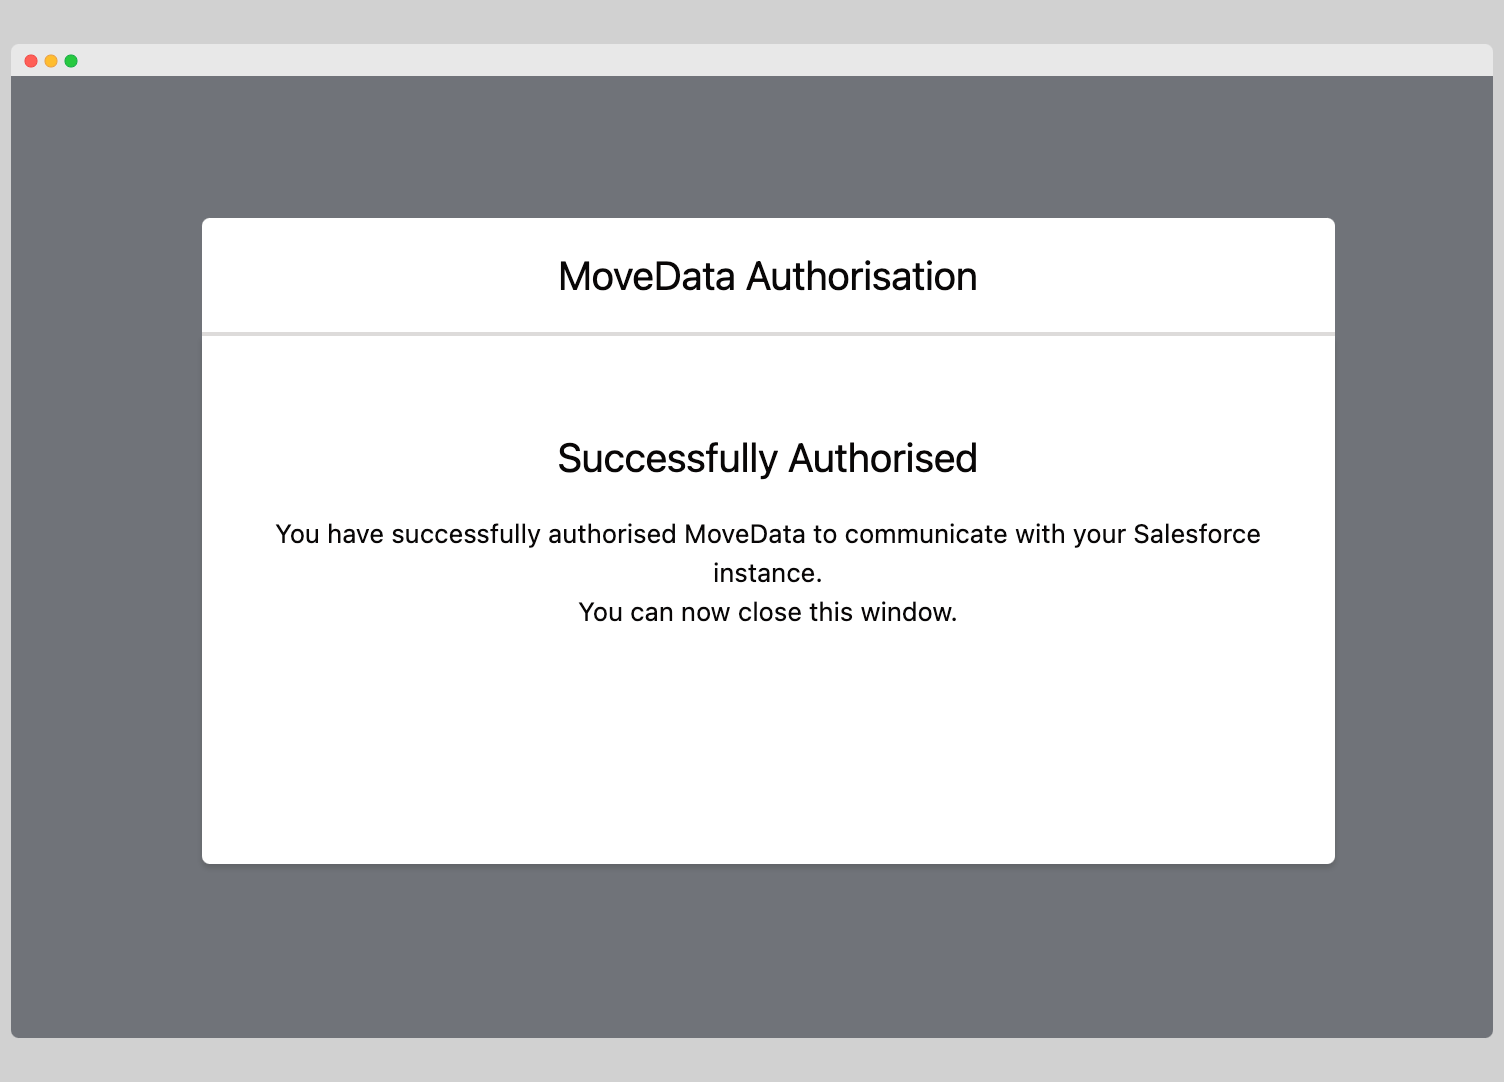
Once authorisation is complete, you will see a success confirmation.
Success
The user you allow access under becomes the MoveData Authorised User. MoveData uses this account for all record operations in Salesforce. Ensure the account has the appropriate permissions.
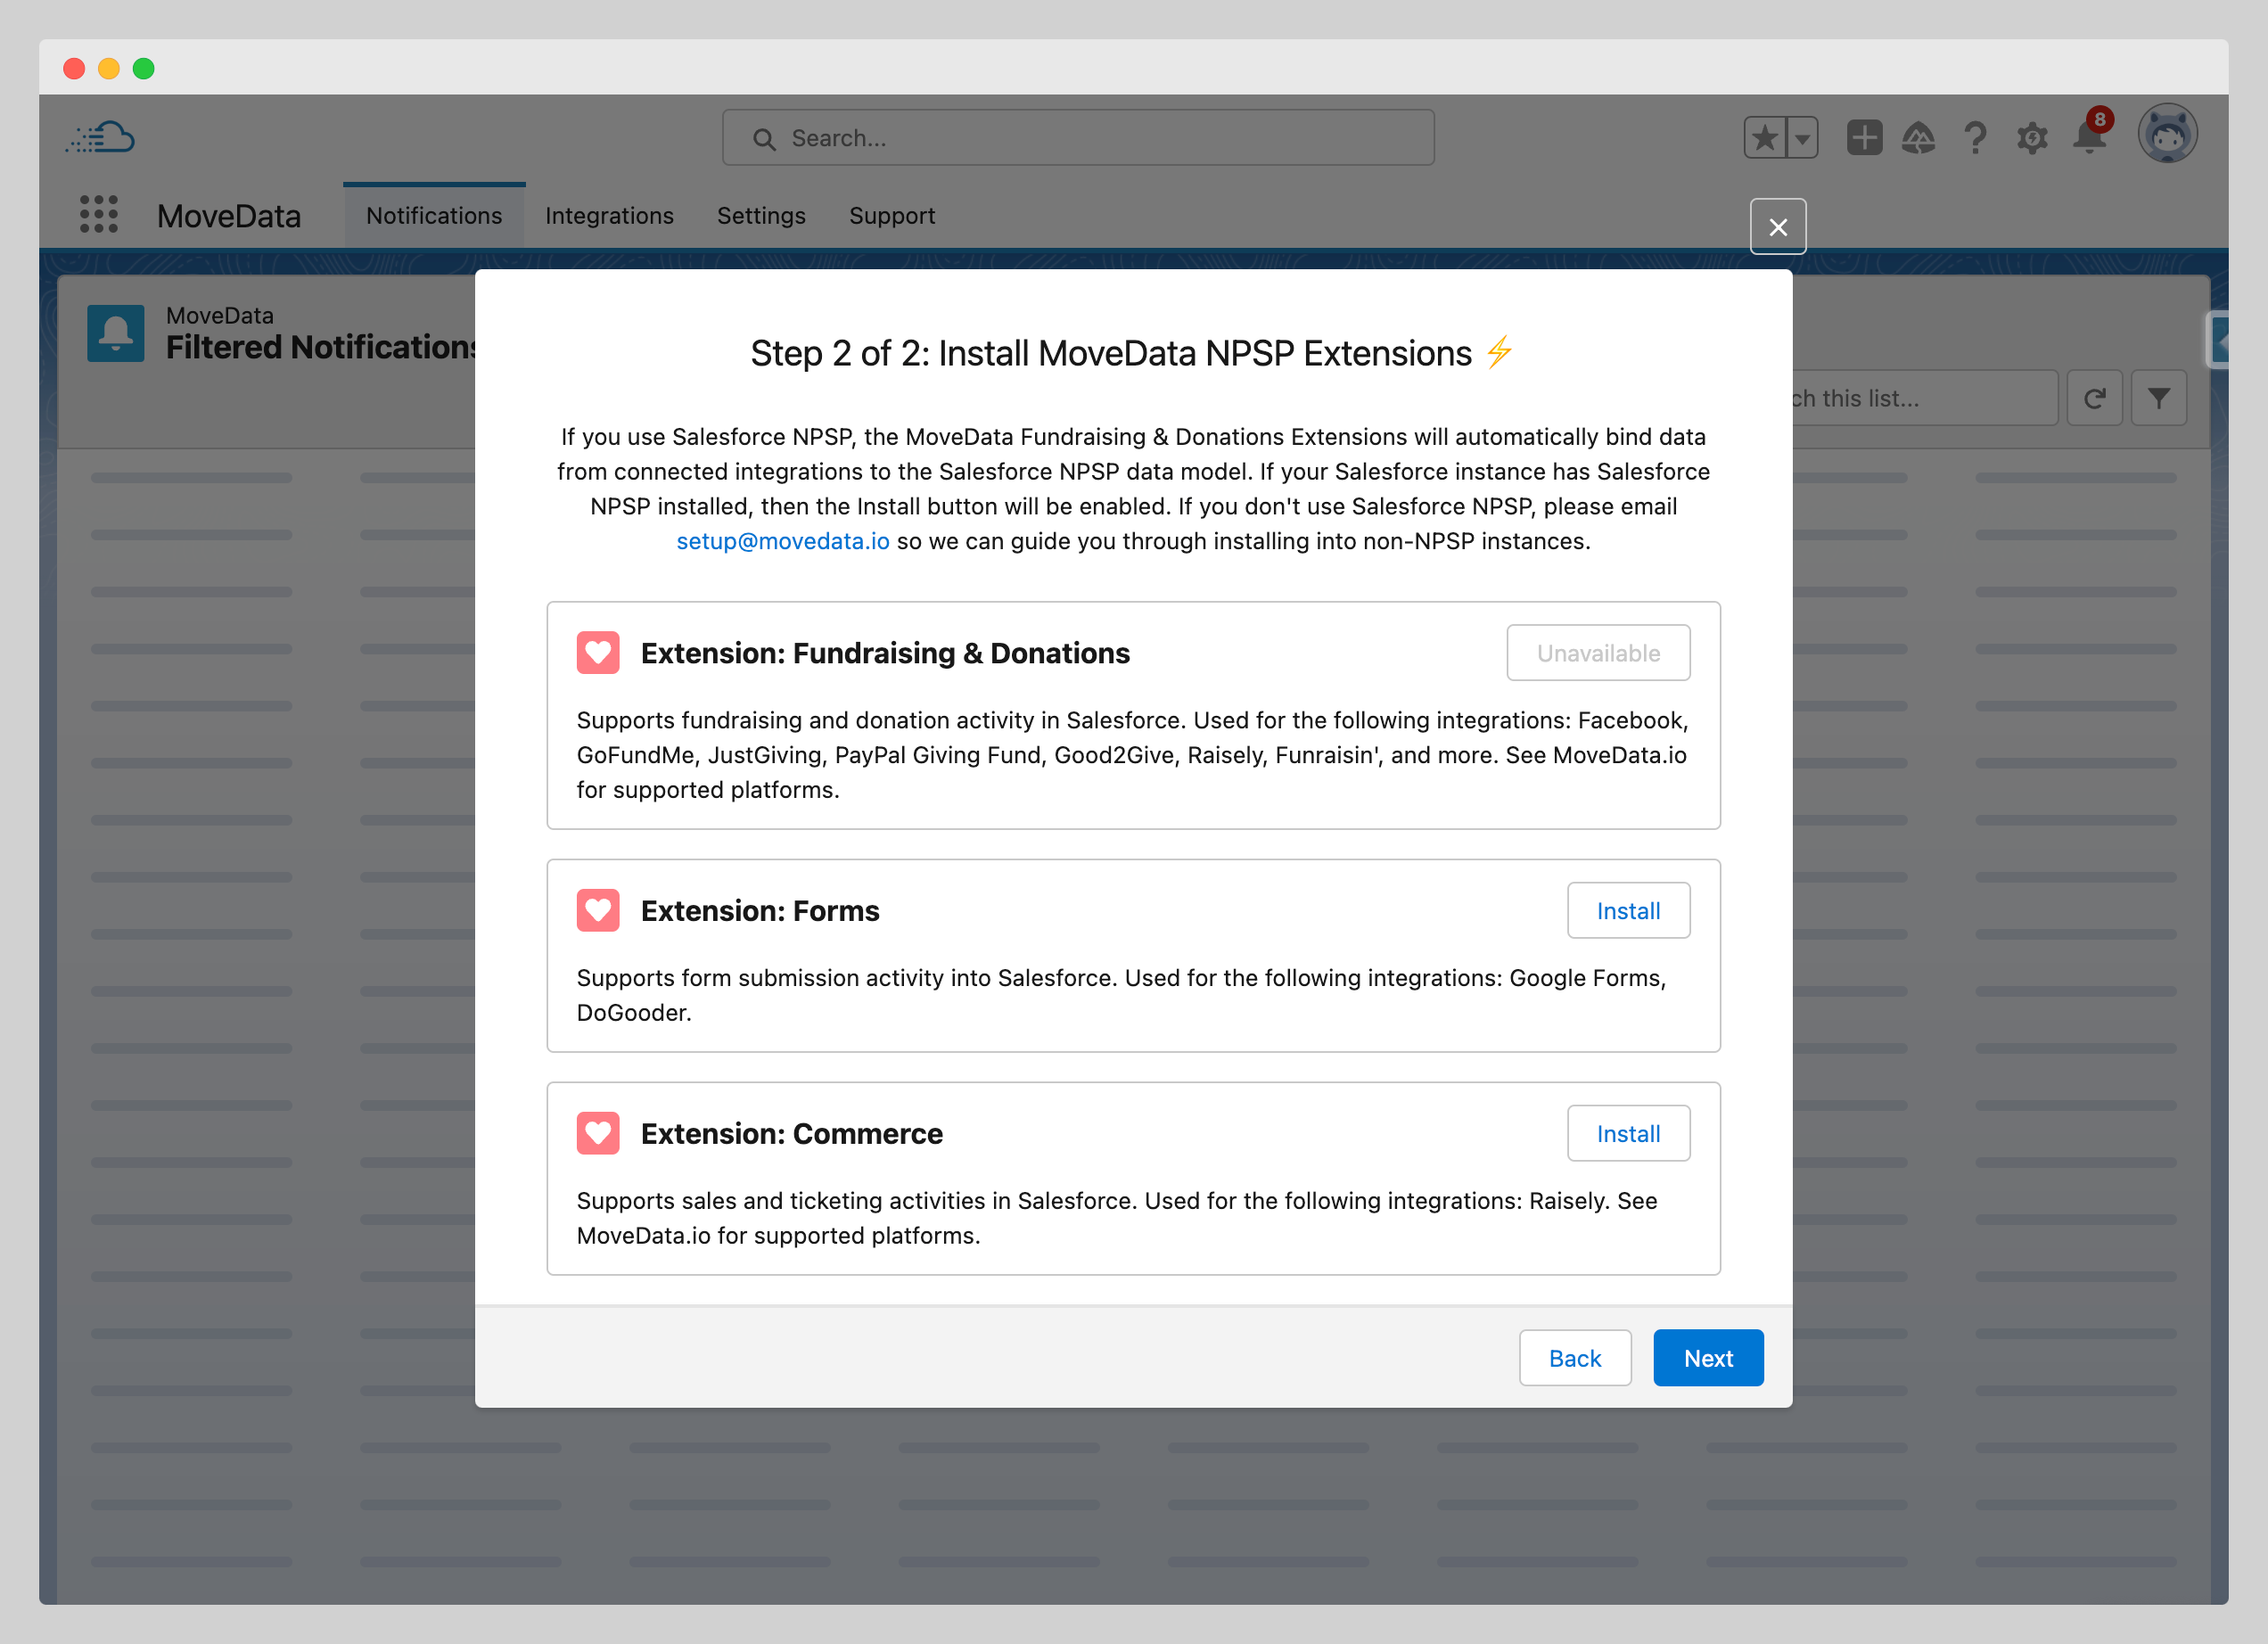
Step 4: Install extensions#
Extensions provide the business logic MoveData uses to map data into your Salesforce data model. Select the extensions that match your organisation's configuration.
| Extension | Description | Supported data model |
|---|---|---|
| NPSP Fundraising & Donations | Maps donation and fundraising information to the NPSP data model. | NPSP |
| NPSP Commerce | Maps ticket and merchandise sales to the NPSP data model. | NPSP |
| Nonprofit Cloud | Maps all supported information to the Nonprofit Cloud data model. | Nonprofit Cloud |
- Select one or more extensions that match your Salesforce data model.
- Click Install.
Each extension takes between 5 and 15 minutes to install.
The wizard automatically detects your Salesforce configuration and shows each extension as Available, Unavailable (missing dependencies), or Installed.
Note
You can add extensions later by going to Settings > Extensions within the MoveData application.
Step 5: Complete setup#
Once your extensions finish installing, the wizard displays a completion screen.
- Click Finish to close the wizard and open the MoveData dashboard.

Your MoveData instance is now configured and ready to connect fundraising platforms.
Post-setup checklist:
- OAuth authorisation shows "Successfully Authorised"
- Required extensions show "Installed" status
- MoveData application opens without errors
Success
Your next step is to set up an integration with your fundraising platform. Visit the integrations section of this knowledge base for platform-specific guides.
Troubleshooting#
The setup wizard does not launch automatically
If the wizard does not appear when you open MoveData, raise a support ticket by emailing support@movedata.io. If you have already completed the wizard, it will not launch again automatically.
Authorisation fails or the popup is blocked
Ensure your browser allows popups from your Salesforce domain. Try disabling popup blockers temporarily. If the OAuth popup still fails, check that your Salesforce user has system administrator permissions.