Change the authorised user
Over time your organisation may need to change the Salesforce user that MoveData operates under. This article walks you through the process and highlights important considerations to avoid integration errors after the switch.
For background on what the authorised user is and why it matters, see The MoveData authorised user.
Before you begin#
Before changing the authorised user, confirm that the incoming user meets the following requirements:
- They have the same profile and field-level permissions as the outgoing user.
- They have been assigned the relevant MoveData permission sets.
Important considerations#
There are three things to check before making the switch.
Assign MoveData permission sets#
The incoming user must have access to the same MoveData permission sets as the outgoing user. Without these, the new user will not be able to access MoveData features or process notifications correctly.
To assign permission sets:
- Open Setup > Permission Sets.
- Locate the relevant MoveData permission sets (for example, MoveData Application, MoveData NPSP Extensions, or MoveData NPC Extensions).
- Open the permission set and click Manage Assignments > Add Assignment.
- Select the incoming user and save.
For a full list of available permission sets, see Permission sets.
Match minimum permissions#
The incoming user must have the same minimum field-level and object permissions as the outgoing user. If the outgoing user has read/write access to a field and the incoming user does not, the integration will produce errors when it attempts to write to that field.
Assign the incoming user the same Salesforce profile as the outgoing user, or verify that their profile grants equivalent access.
Update duplicate rule conditions#
If your Salesforce duplicate rules include conditions that reference the outgoing user (for example, include or exclude logic based on a user alias), you must update those conditions to reference the incoming user.
Failing to do so may cause duplicate matching to behave differently under the new authorised user. For more information, see Duplicate rules.
Change the authorised user#
- Log in to Salesforce as the new user you intend to authorise MoveData under.
- Open MoveData from the App Launcher.
- Click Settings.
- Follow the on-screen instructions to authorise MoveData under the new user.
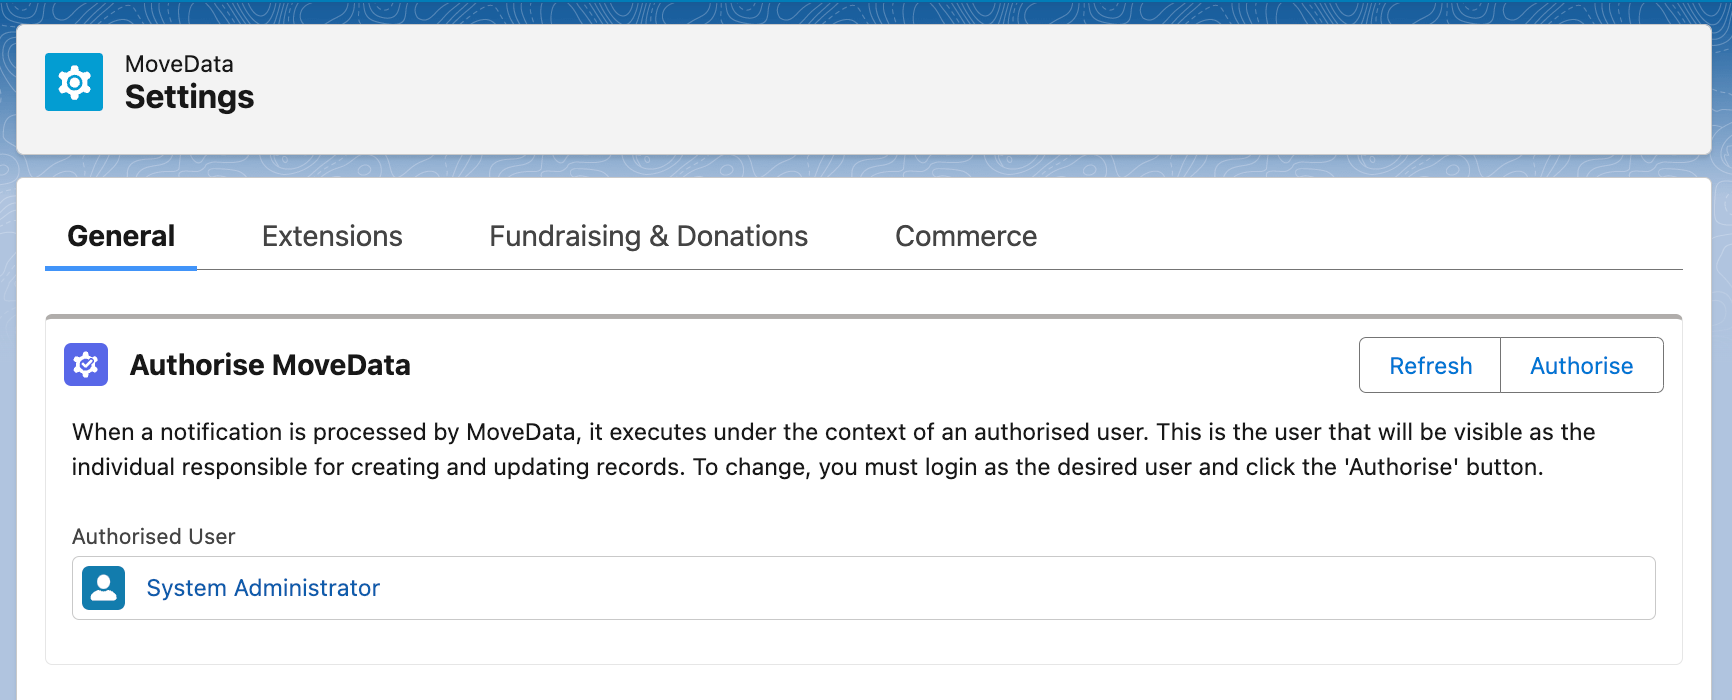
Once authorisation completes, MoveData processes all future notifications under the new user's context.
Other resources#
- The MoveData authorised user — what the authorised user is and why it matters
- Managing MoveData settings — overview of the Settings page
- Permission sets — full list of MoveData permission sets and what they grant
- Duplicate rules — how to configure duplicate matching rules