Navigating the app
The MoveData app is your central hub for managing integrations, reviewing incoming data, and configuring how MoveData works in your Salesforce org. This guide walks you through opening the app and understanding its main sections.
Before you begin#
You need the MoveData Application permission set assigned to your Salesforce user. If you do not have this permission set, the app will not appear in the App Launcher. Ask your Salesforce administrator if you are unsure.
Opening the MoveData app#
- Click the App Launcher icon (the nine-dot grid) in the top-left corner of Salesforce.
- Type "MoveData" into the search bar.
- Select MoveData from the results.
The app opens on the Notifications tab by default.
Main tabs#
The MoveData app has three main tabs along the top of the screen.
Notifications#
The Notifications tab shows every data package that MoveData has received from your connected platforms. Use this tab to monitor incoming data, check processing statuses, and troubleshoot errors.
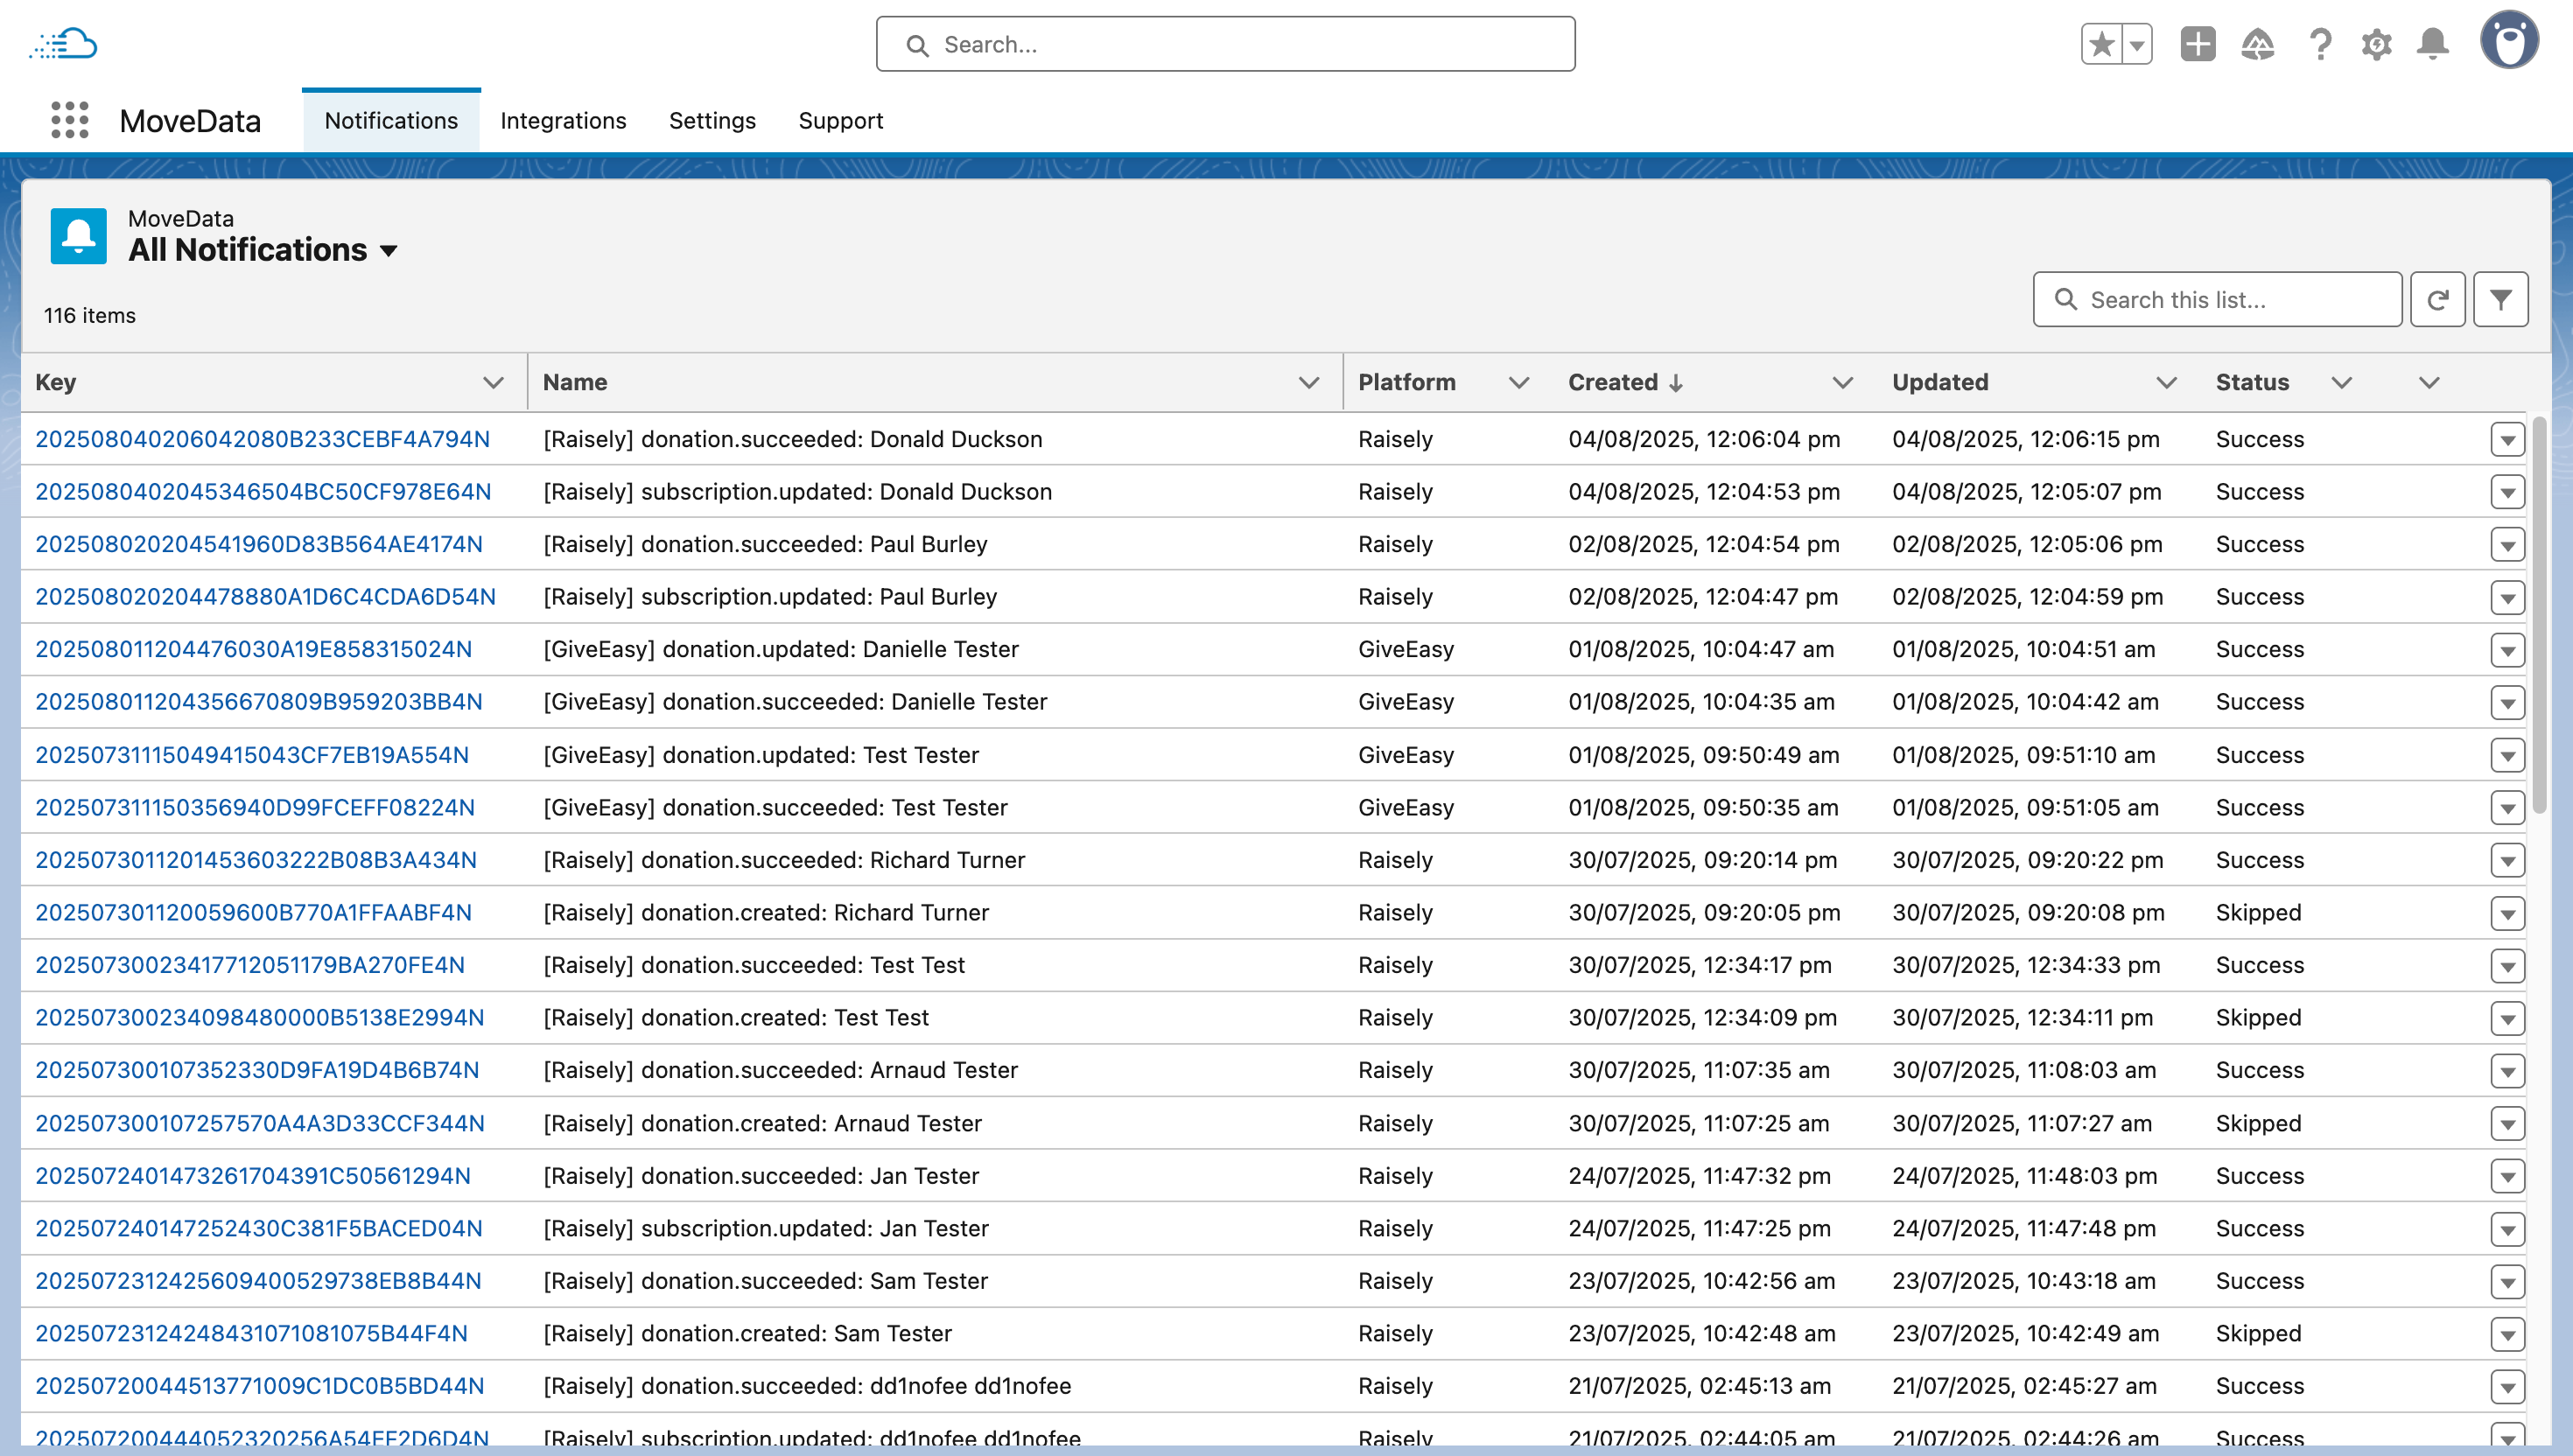
For more detail, see Understanding notifications.
Integrations#
The Integrations tab lists all the platforms you have connected to MoveData. From here you can view integration details, check connection status, and access configuration settings for each platform.
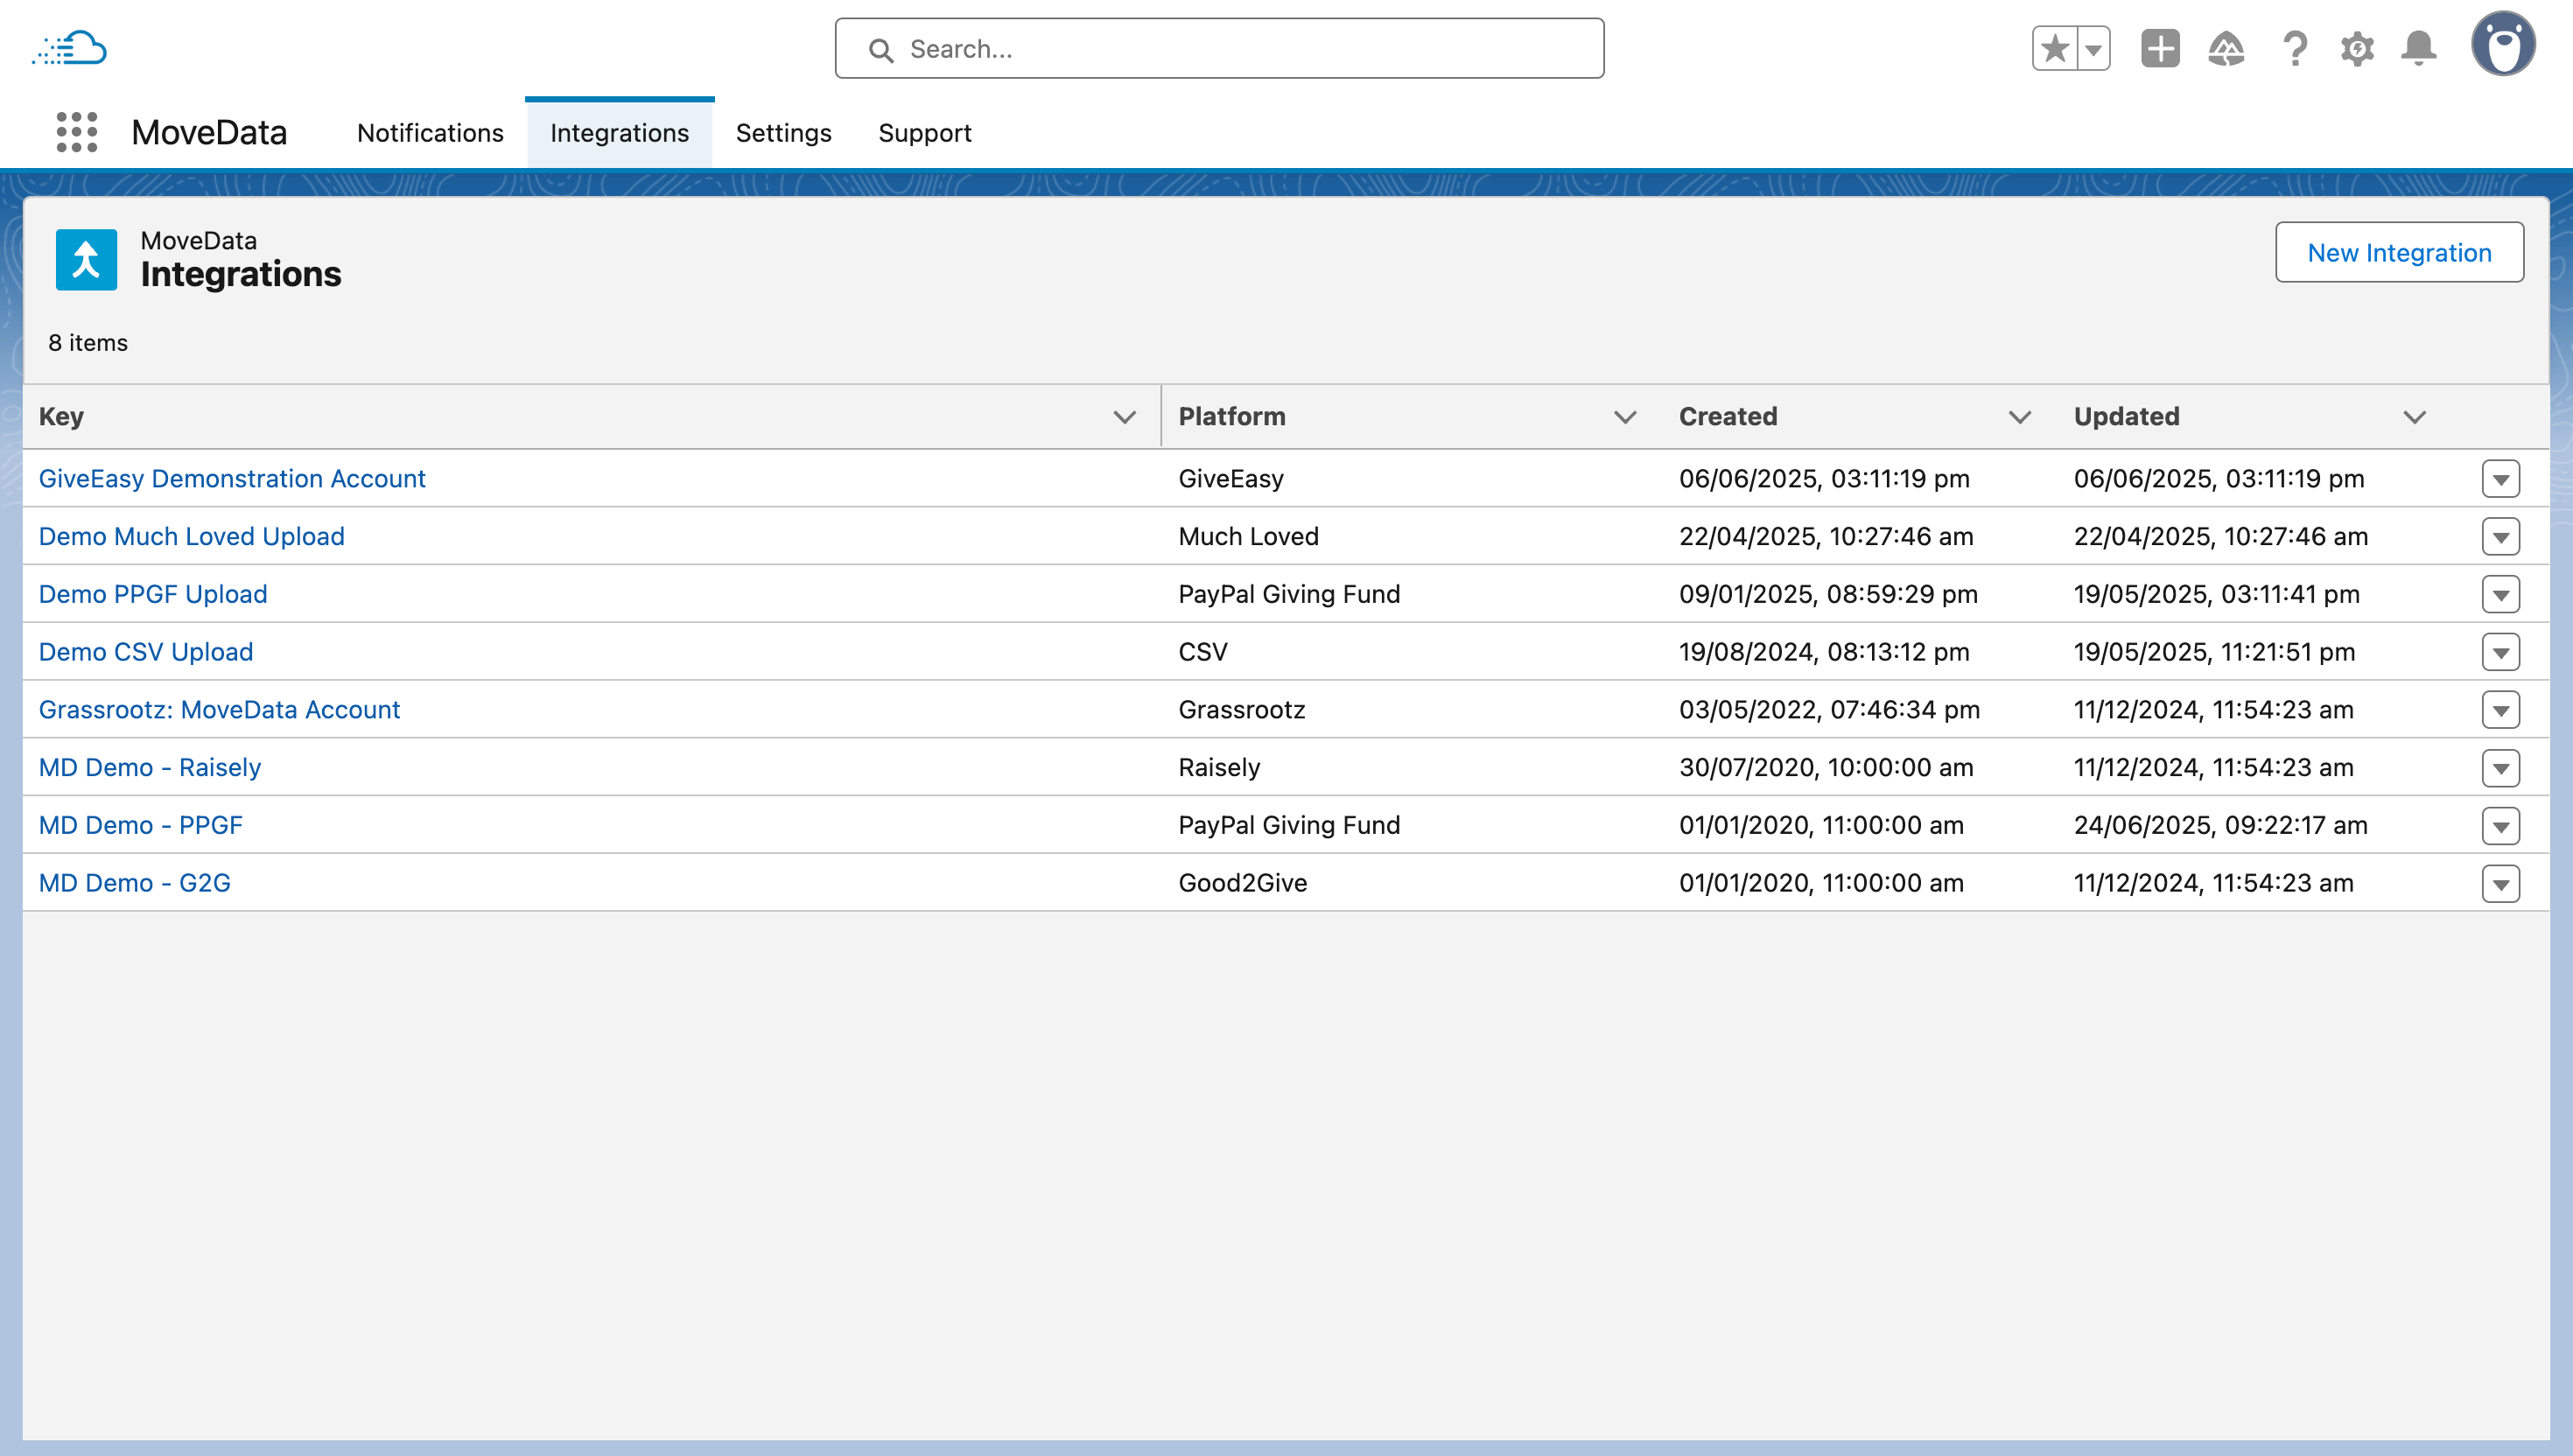
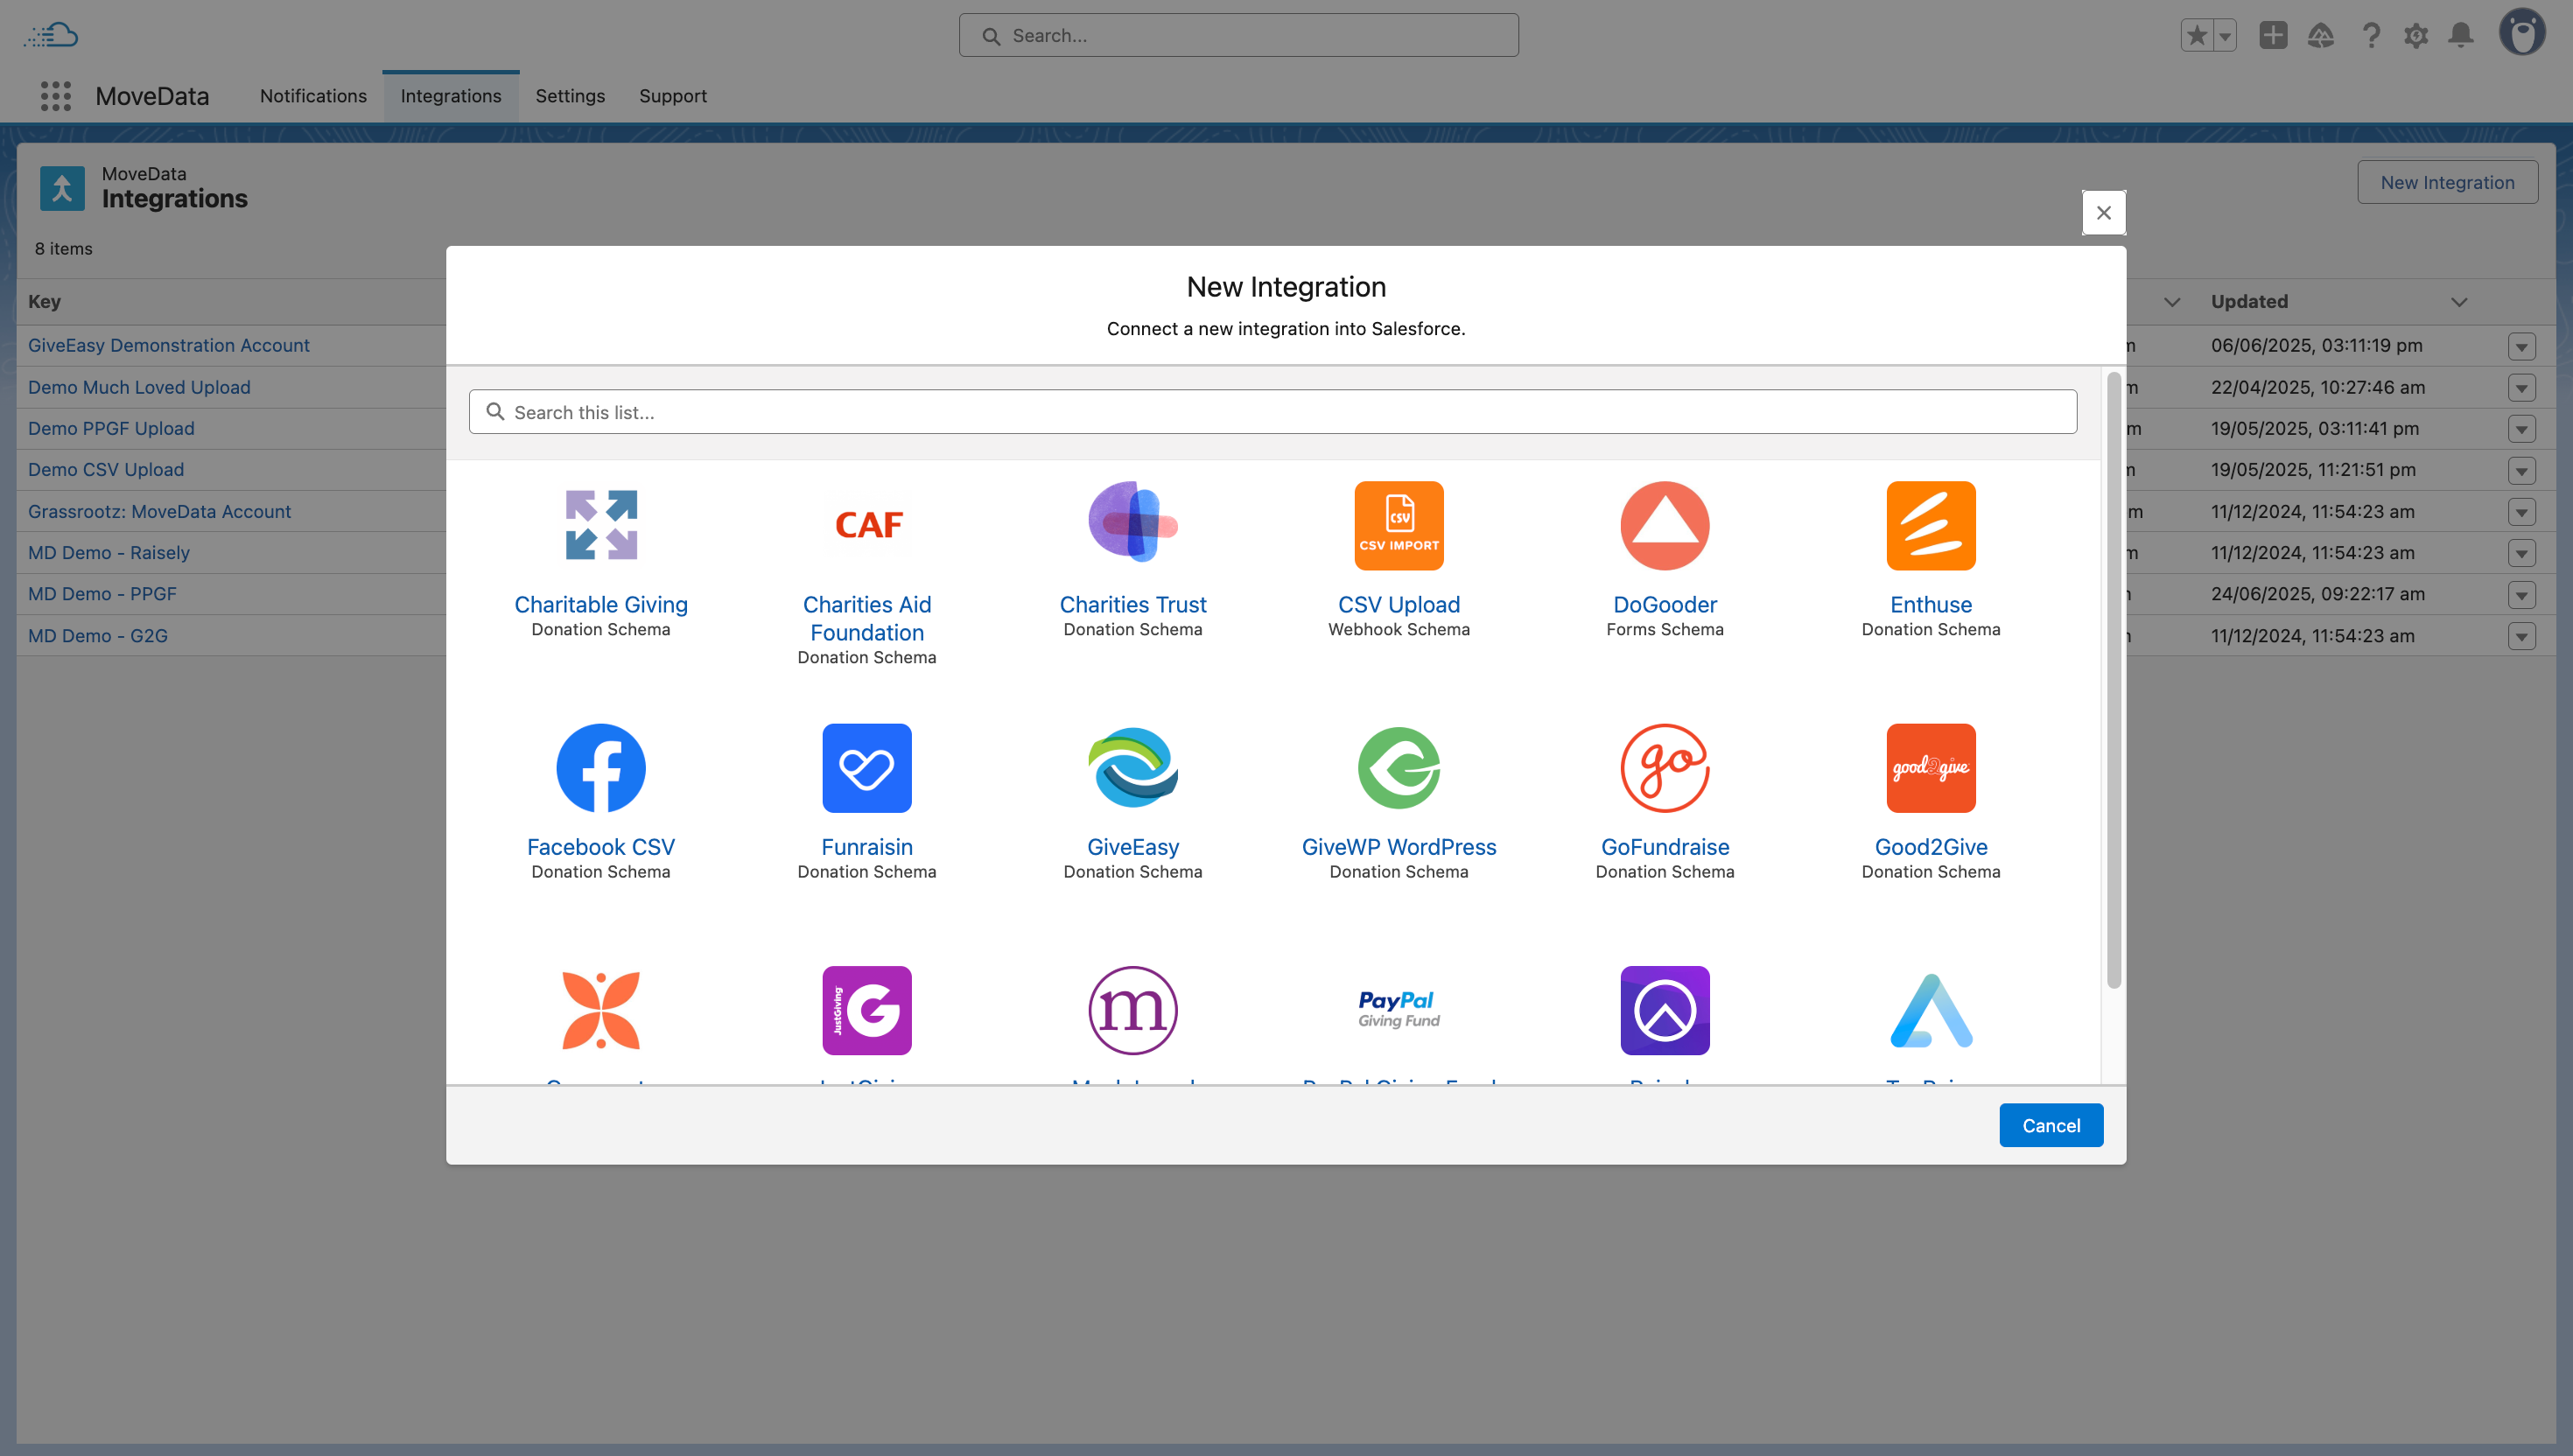
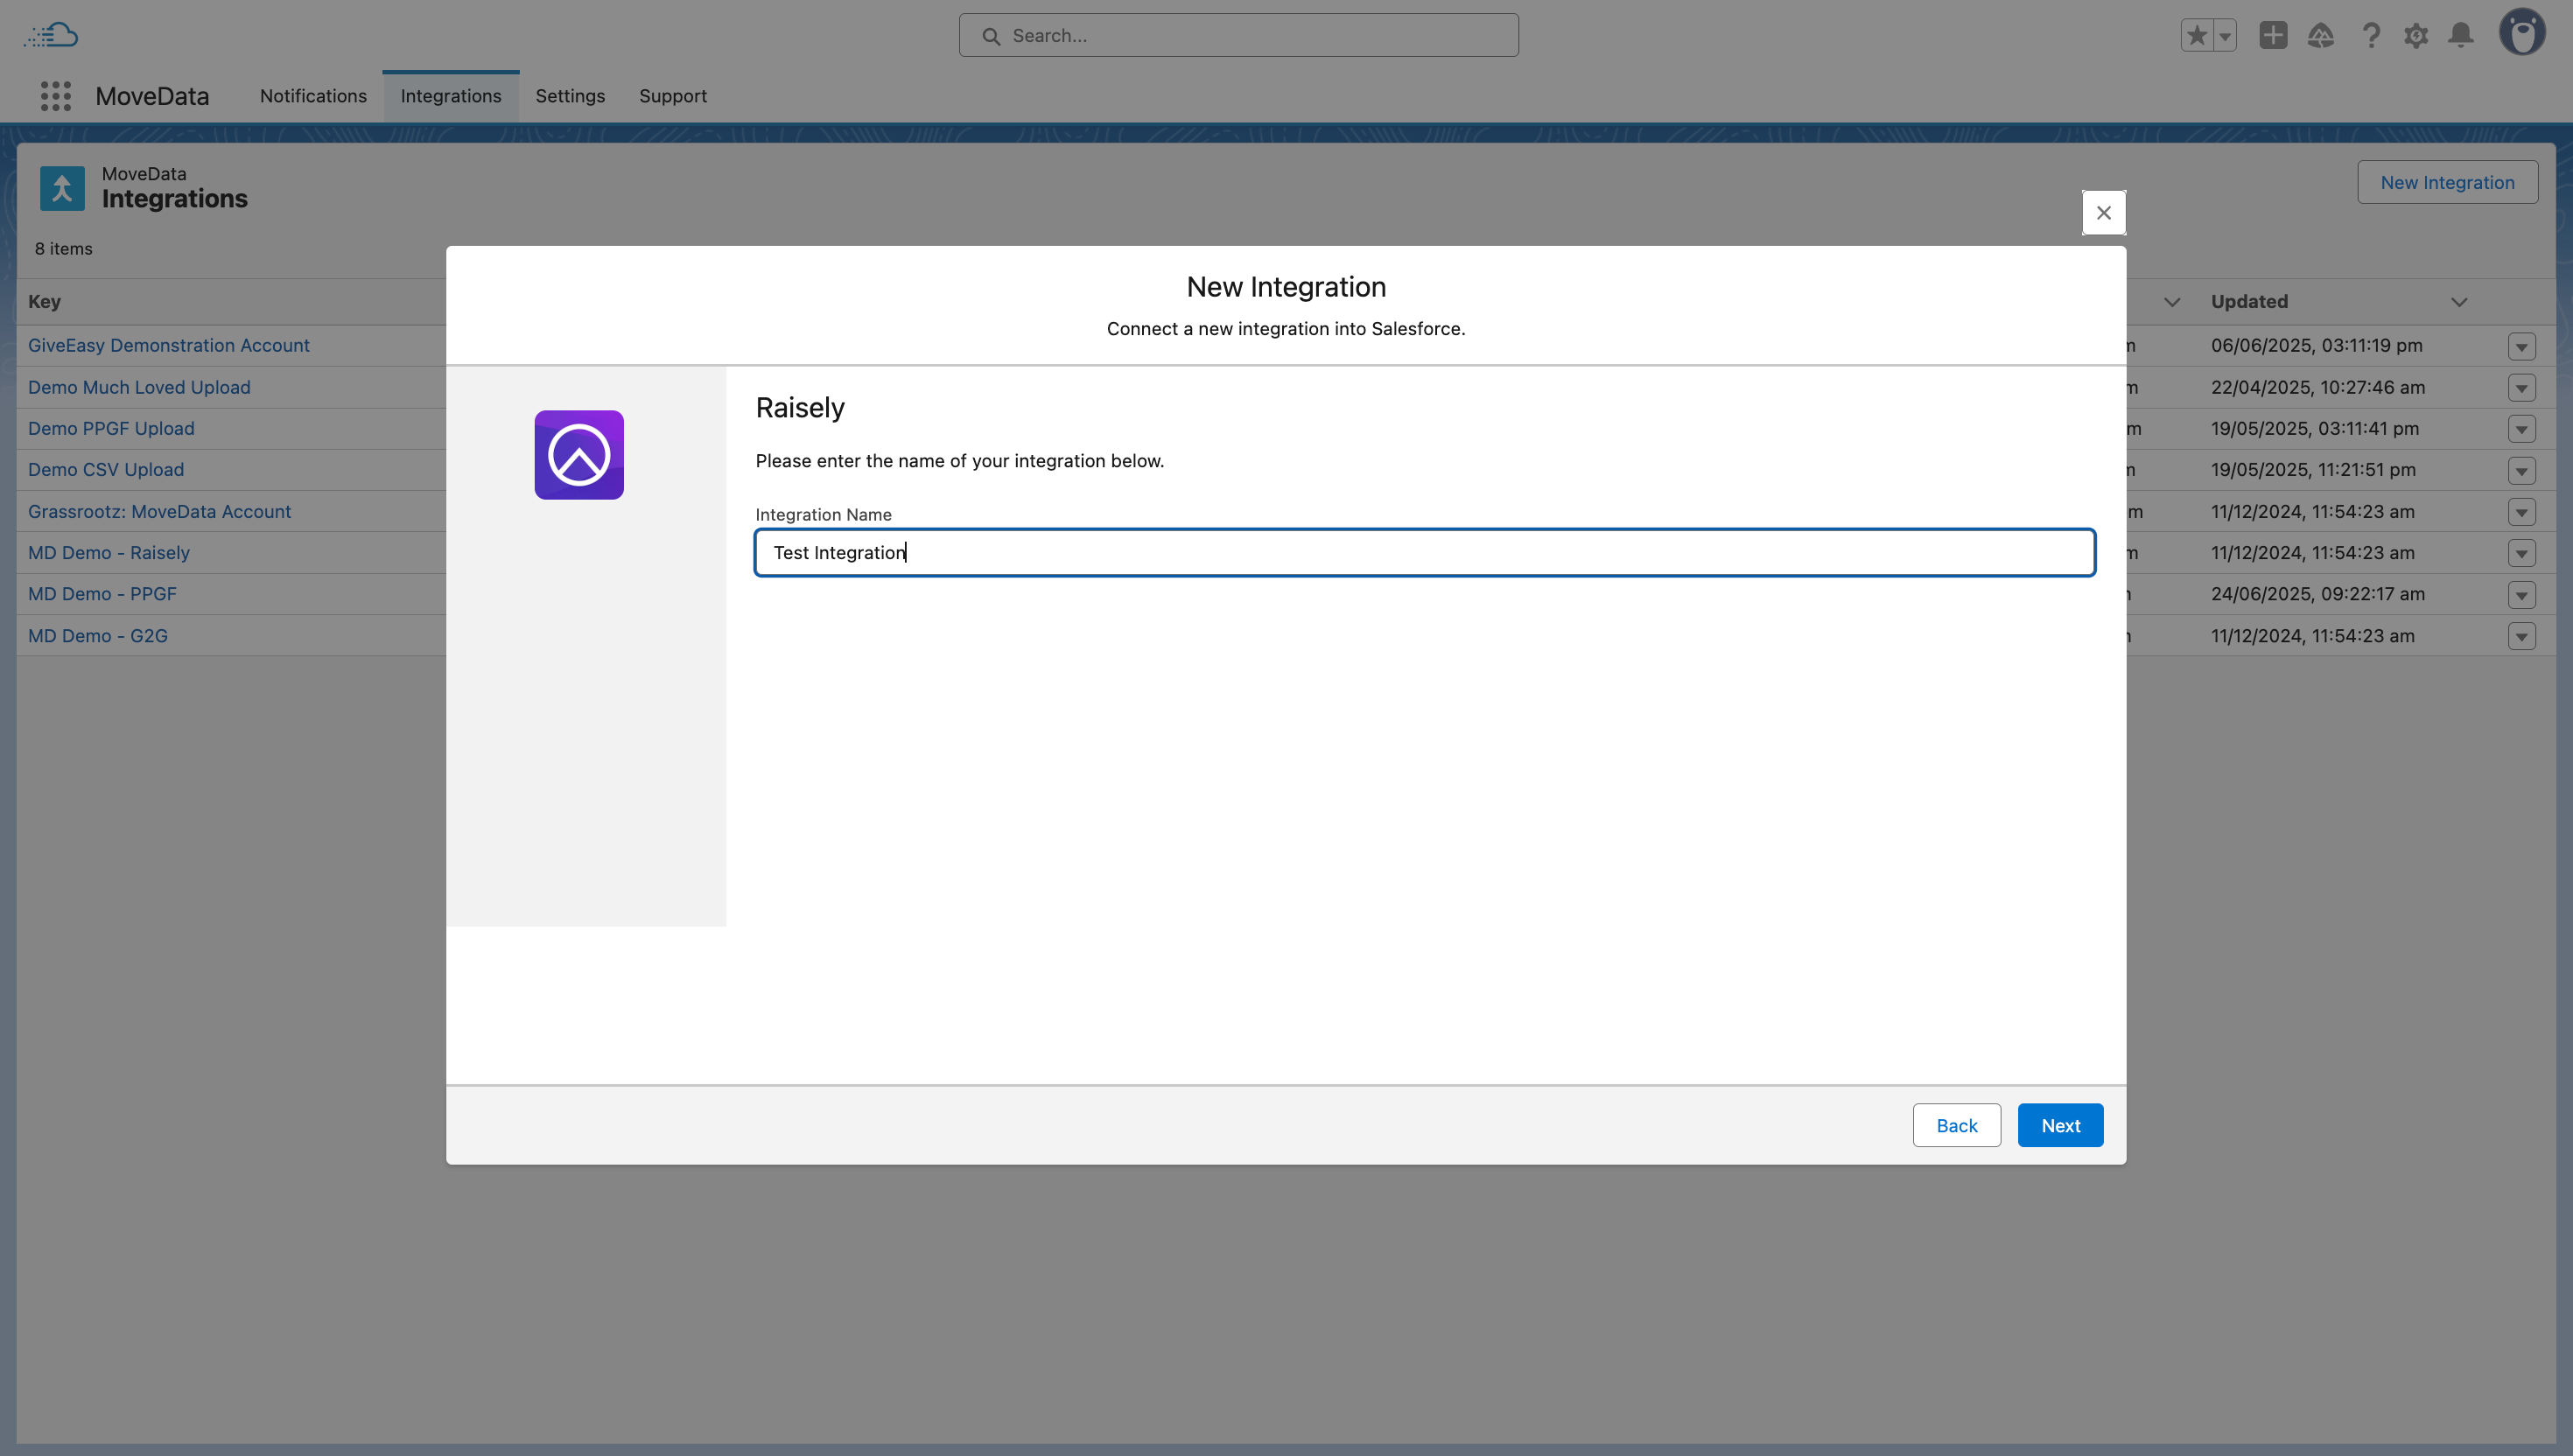
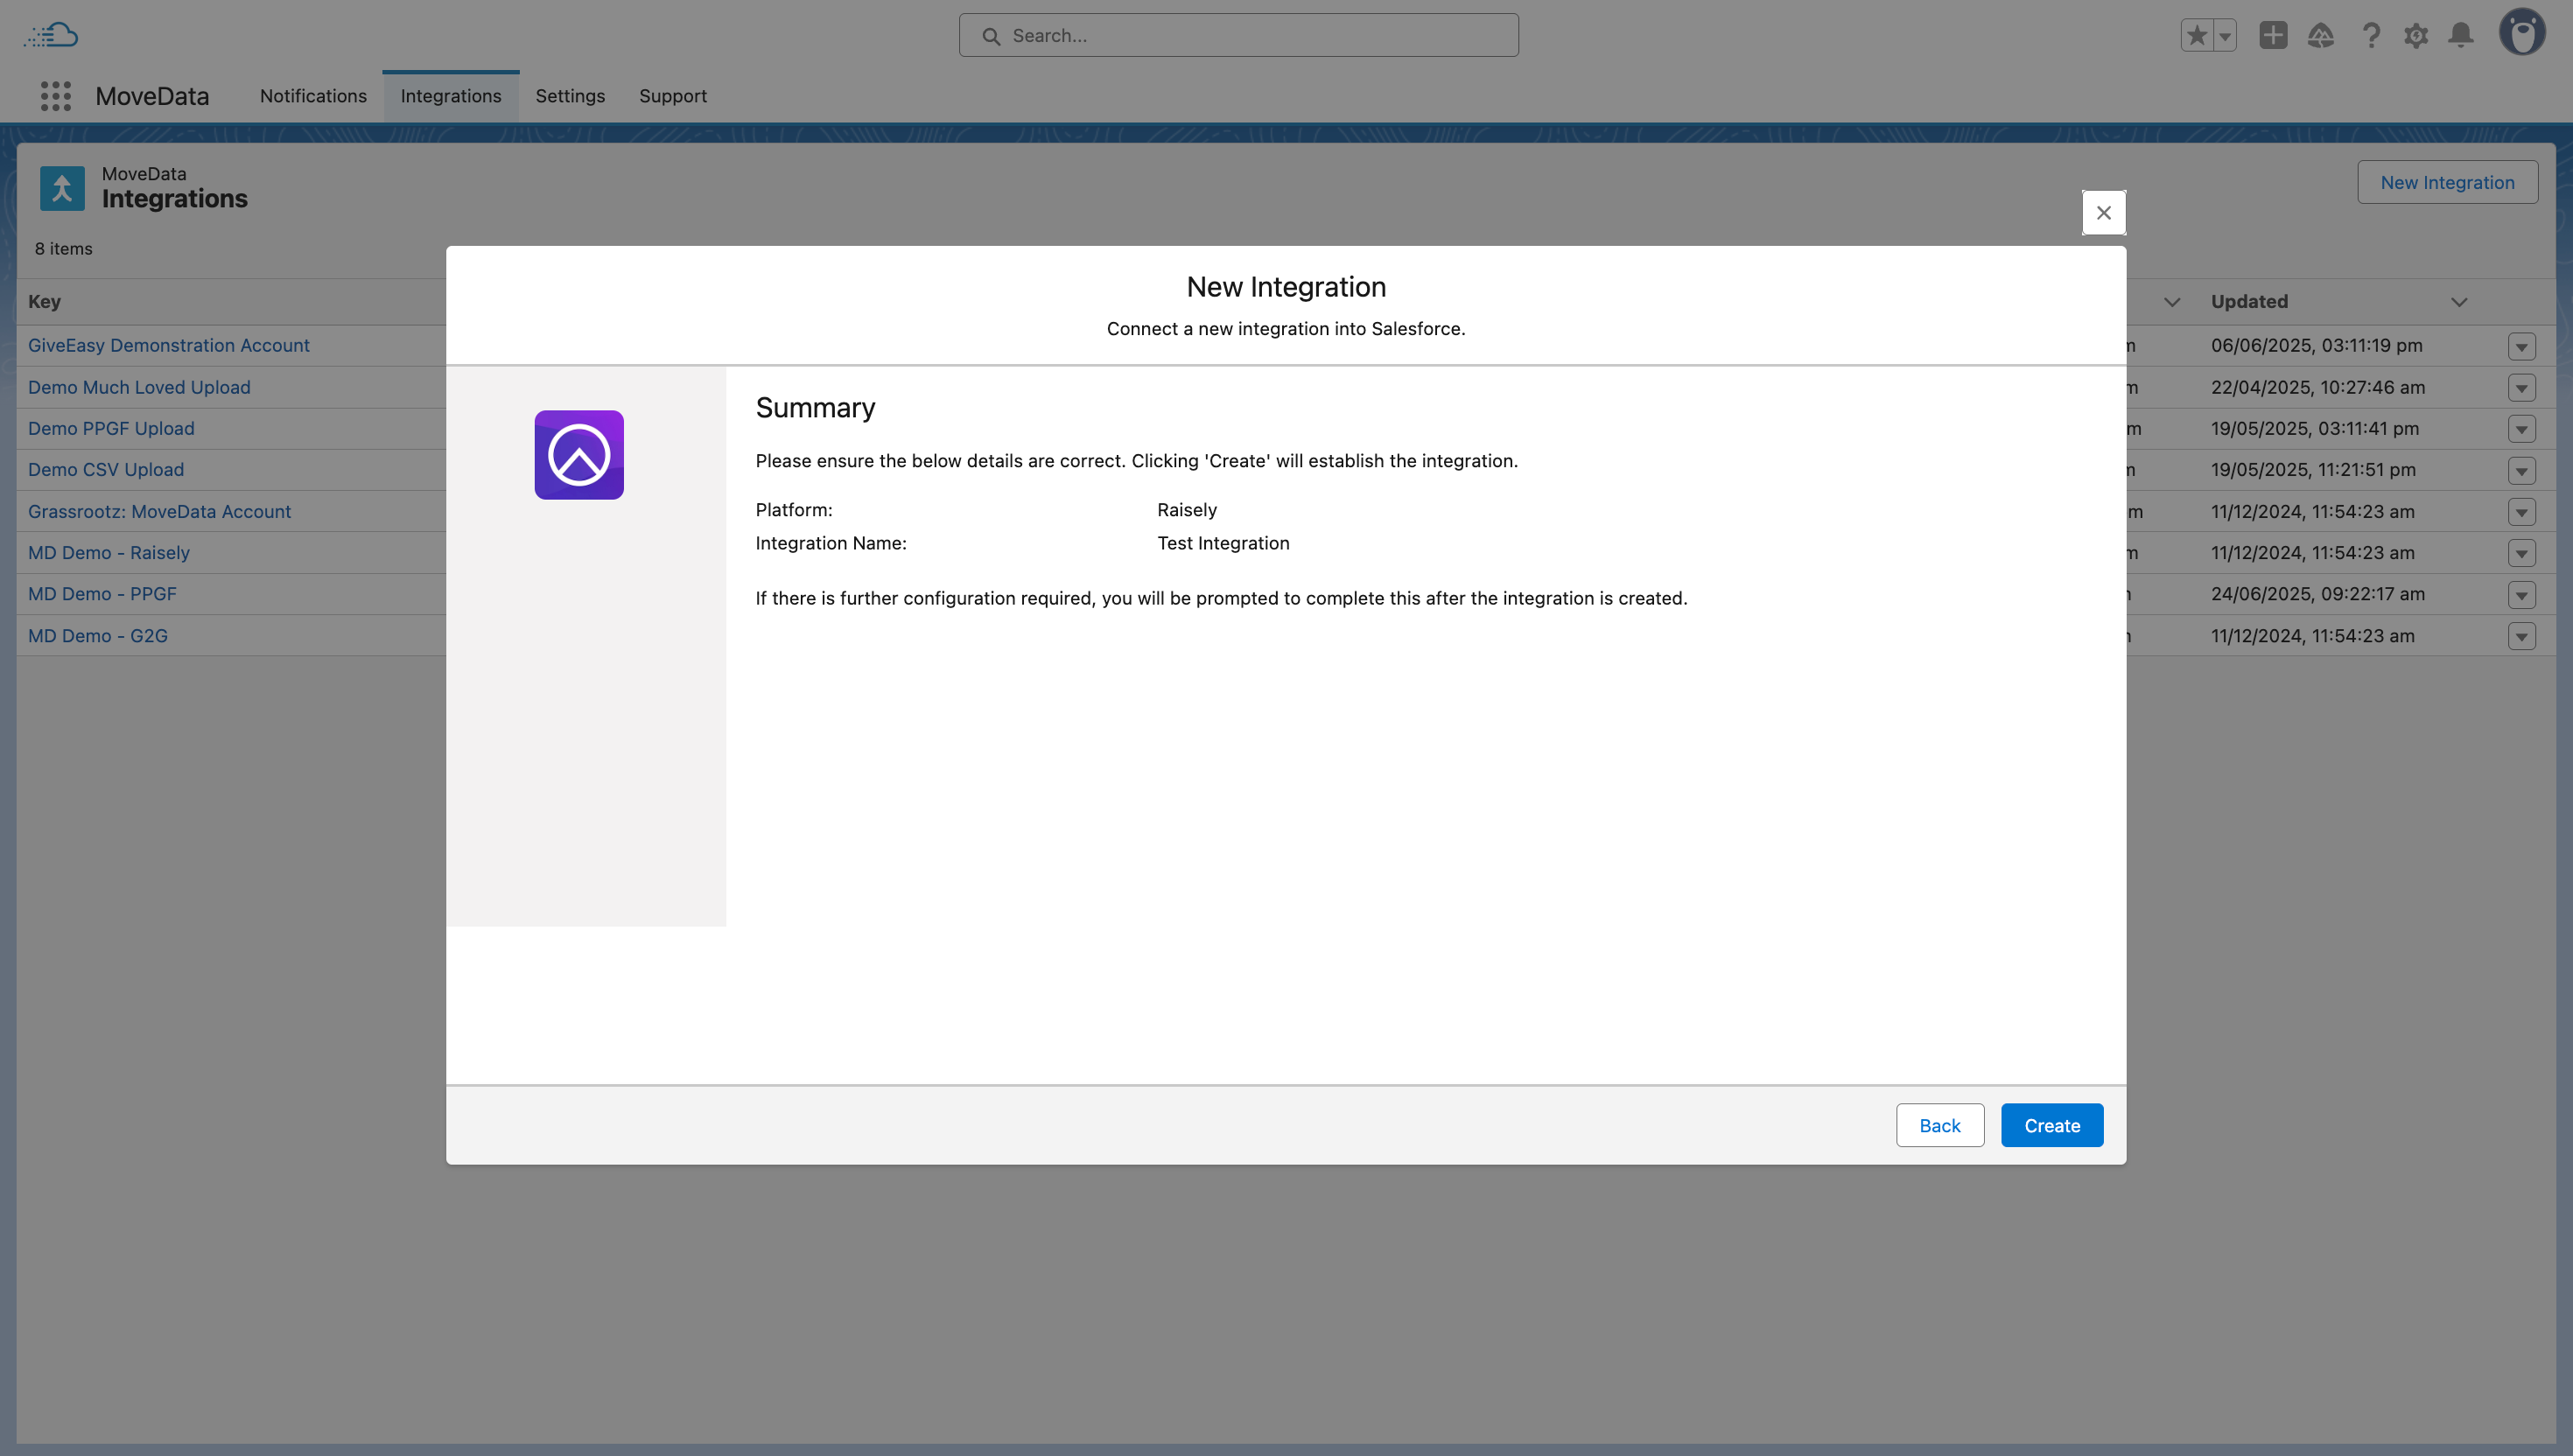
Clicking the New Integration button launches a wizard that guides you through connecting a new platform.
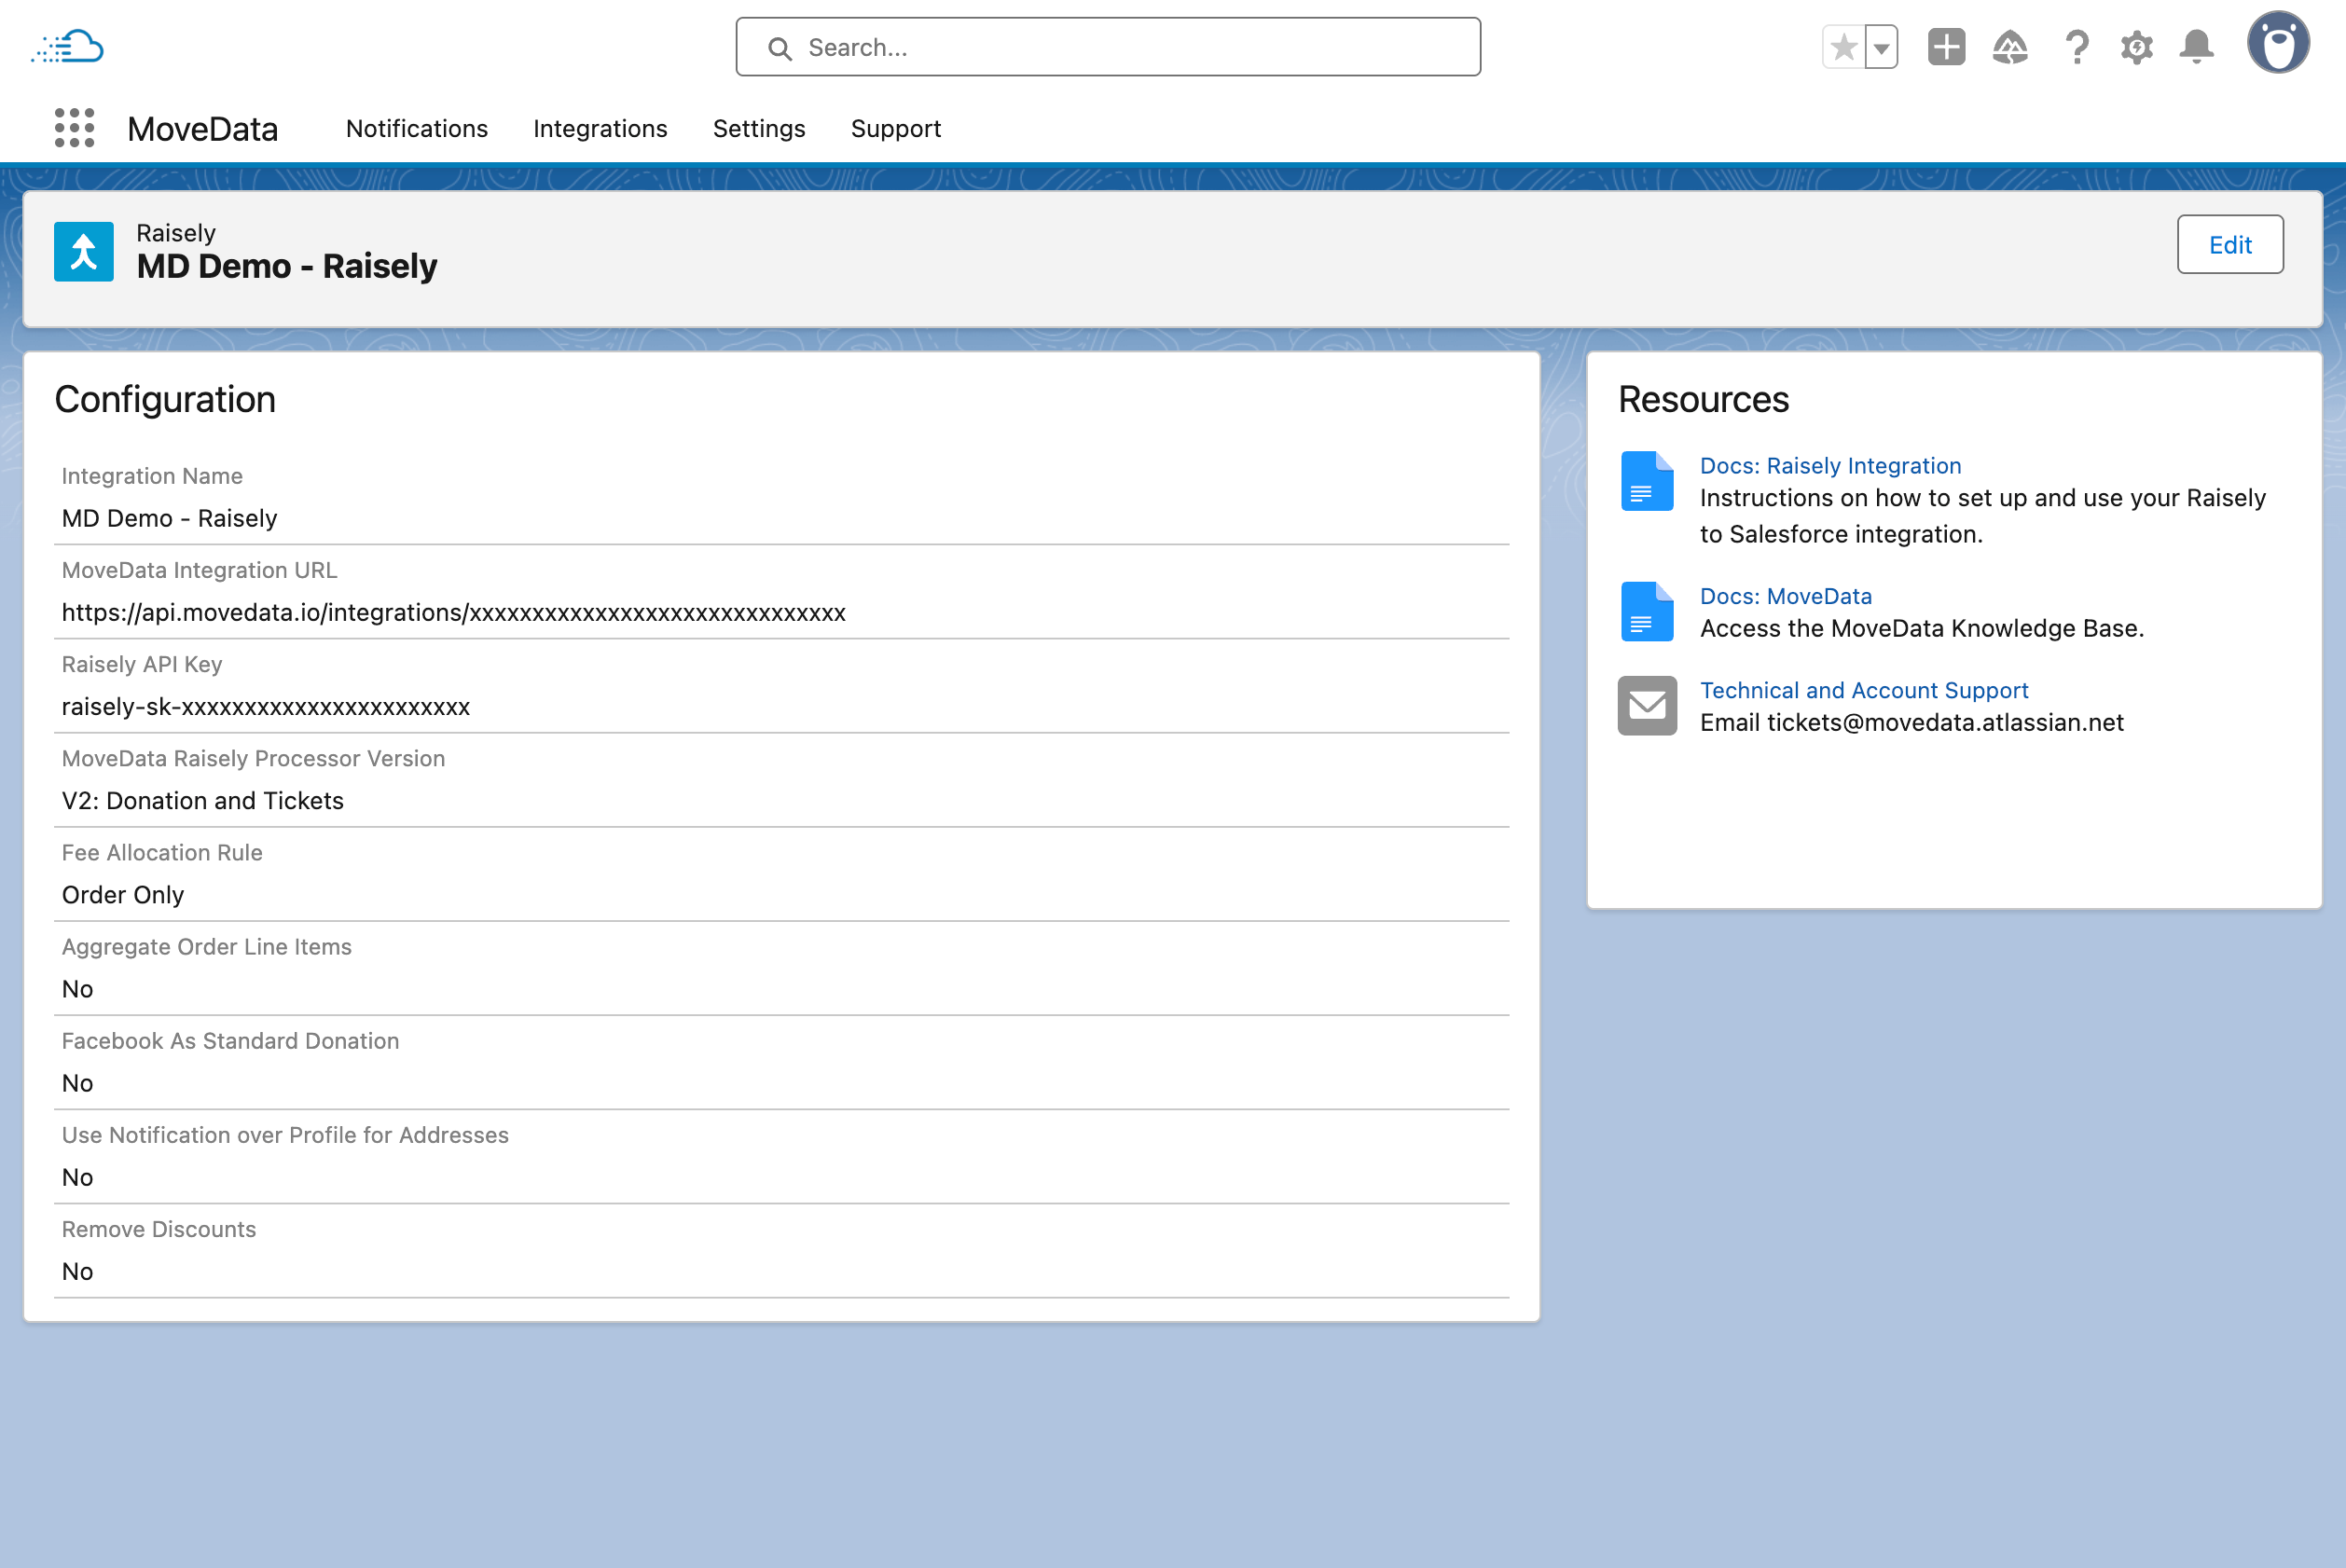
Clicking on an integration key opens the Integration Detail View with full configuration options.
Settings#
The Settings tab lets you configure how MoveData operates across your org.
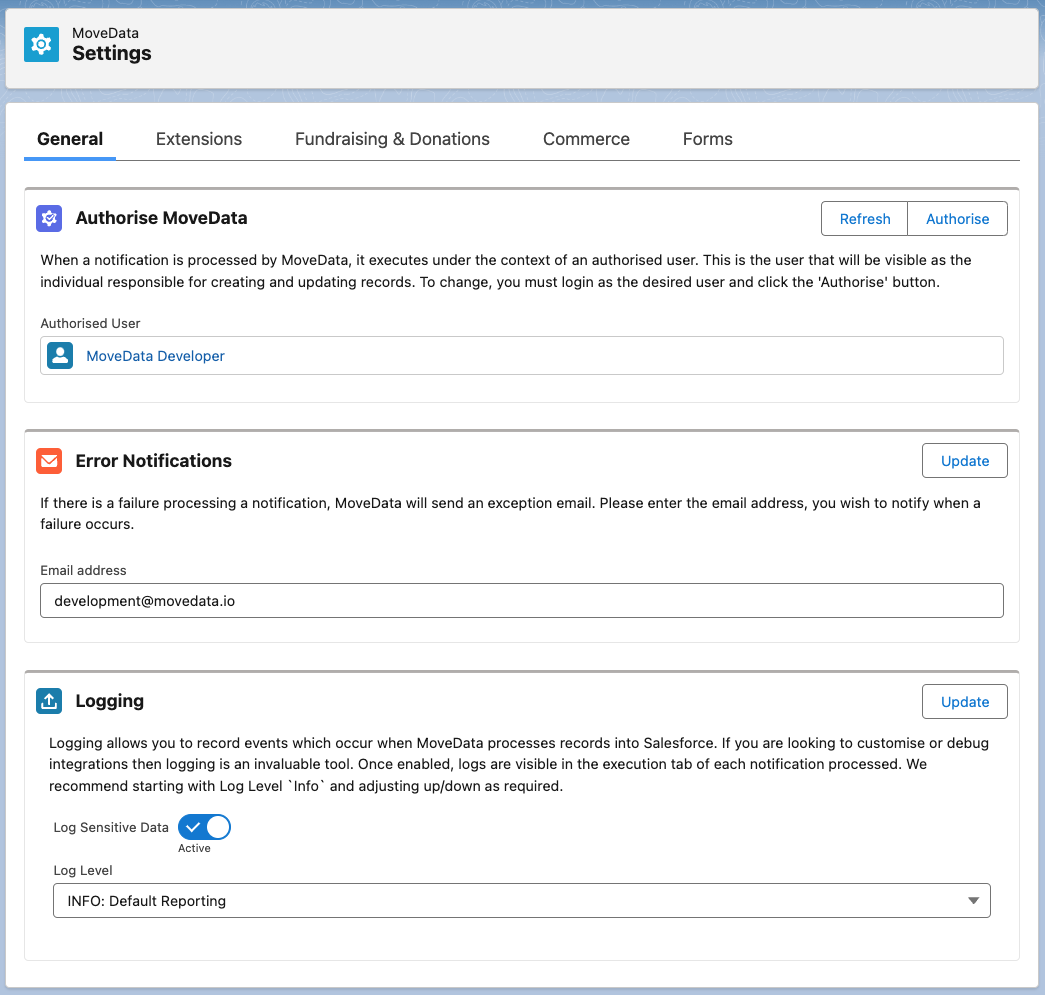
It contains the following sub-tabs:
- General — manage your MoveData authorisation, error notification preferences, and logging settings.
- Extensions — view and configure installed MoveData extensions such as NPSP Fundraising & Donations or Nonprofit Cloud.
Note
When you install an extension, additional sub-tabs appear under Settings with configuration options specific to that extension.
Permission requirements#
You need the MoveData Application permission set assigned to your Salesforce user to access the app. If you do not have this permission set, the app will not appear in the App Launcher.
To check or assign the permission set:
- Go to Setup > Users.
- Select the user who needs access.
- Scroll to Permission Set Assignments and click Edit Assignments.
- Add the MoveData Application permission set.
- Click Save.
Troubleshooting#
I cannot find MoveData in the App Launcher
If MoveData does not appear when you search in the App Launcher, check the following:
- Permission set not assigned — ask your Salesforce administrator to assign the MoveData Application permission set to your user. This is the most common cause.
- Package not installed — confirm that the MoveData managed package is installed in your org by checking Setup > Installed Packages.
- Search spelling — make sure you are searching for "MoveData" (one word, capital M and D).
Success
If you use MoveData frequently, pin it to your navigation bar for quick access. Click the App Launcher, find MoveData, and drag it to your navigation bar.